The Library comes equipped with Mac Mini computers with DVD drives and Windows desktop computers which are capable of burning DVD’s. This article takes you through the suggested steps to achieve this on both platforms.
![]() This content is related to the Faculty of DanceRelated Faculty of Music content: n/a
This content is related to the Faculty of DanceRelated Faculty of Music content: n/a
Creating a DVD Video Disc
This method is recommended if you are only burning a single title to your disc, or if you’re creating a disc that will mainly be used with a DVD player as part of a performance or presentation.
MacOS: Using the ‘Burn’ application to create a DVD video disc
- Insert your blank DVD disc into your computer and ignore any windows that pop up.
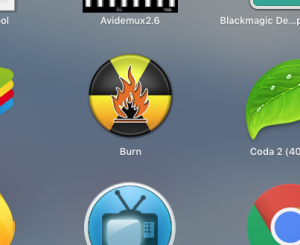
- In Launchpad, open up the ‘Burn‘ application.
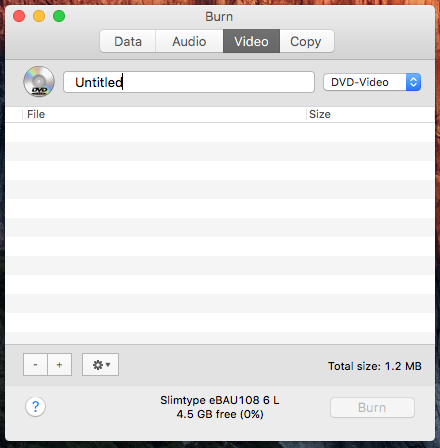
- In the ‘Video‘ tab, enter a name for your disc.

- From the dropdown menu beside your disc title select ‘DVD-Video‘.
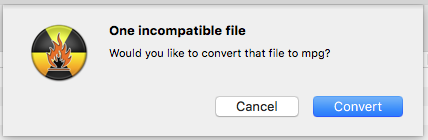
- Drag and drop the files you want to burn into the Burn application, when Burn asks whether you want to convert the file to mpg, select ‘Convert‘.
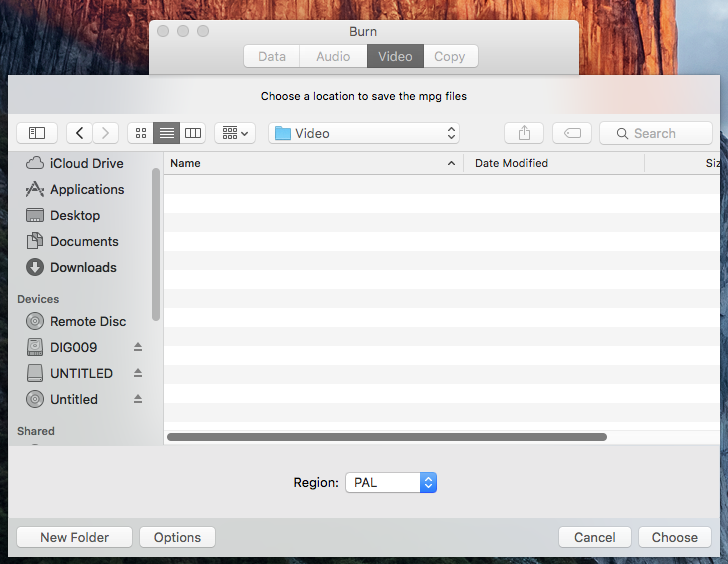
- When the folder window pops up, select ‘New Folder‘, name your folder and select ‘Create‘. Ensure that the region is selecting ‘PAL‘, unless you are burning an NTSC file.
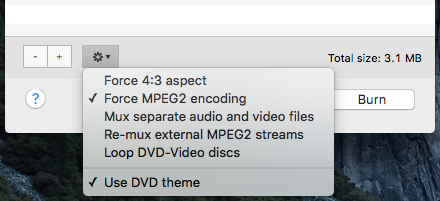
- Wait for your file to finish encoding, then select ‘Force MPEG2 encoding‘ and click to deselect ‘Use DVD theme‘ from the settings dropdown button. If you want the DVD to play on loop, select the ‘Loop DVD-Video discs‘ option. For most situations, we’d suggest that you don’t have this option selected.
- Press the burn button to write your files to the disc.
Windows: Using Windows to create a DVD video disc
- There are a variety of ways to do this on Windows, however, we’d suggest that you save your files to an external hard drive or USB stick and use one of the the library’s Mac Minis to achieve this.
Creating a Data Disc
This method of storing your files is recommended if you are burning multiple titles to disc, submitting files for an assessment, or want to easily create copies of your data for use again at a later point.
MacOS: Using the ‘Burn’ application to create a data disc
- Insert your blank DVD disc into your computer and ignore any windows that pop up.
- In Launchpad, open up the ‘Burn‘ application.
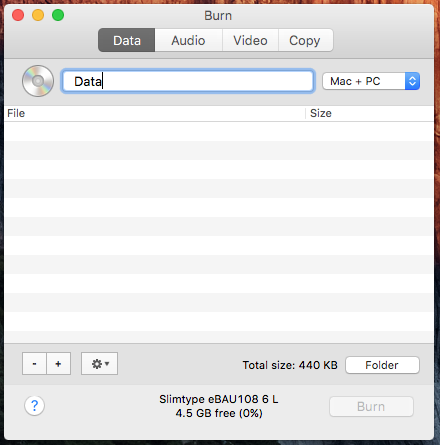
- Navigate to the ‘Data‘ window and give your disc a name.

- From the dropdown menu beside your disc title select ‘Mac + Pc‘.
- Drag and drop the files you want to burn into the Burn application.
- Press the burn button to write your files to the disc.

Windows: Using Windows Explorer to create a data disk
- Insert your blank DVD disk into your computer.
- Open ‘Windows Explorer‘ and goto ‘This PC‘.
- Under ‘Devices and Drives‘ find your blank disc and double click to open it.
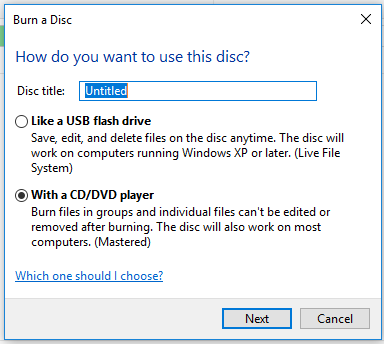
- Give your disc a title and select ‘With a CD/DVD player‘, click ‘Next‘.
- Drag and drop your files into the explorer window.
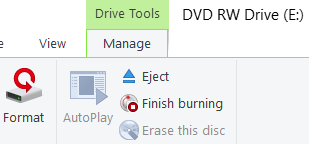
- When you’ve added all your files, select the ‘Drive tools‘ -> ‘Manage‘ menu from the toolbar at the top of the Windows Explorer window. Click ‘Finish burning’ to burn the data to disc.