
This article explains how to easily set up a Moodle assessment to allow videos or other multimedia files to be assessed. It is aimed at Trinity Laban Tutors/Course Leaders.
Considerations
Setting up the Moodle Assessment
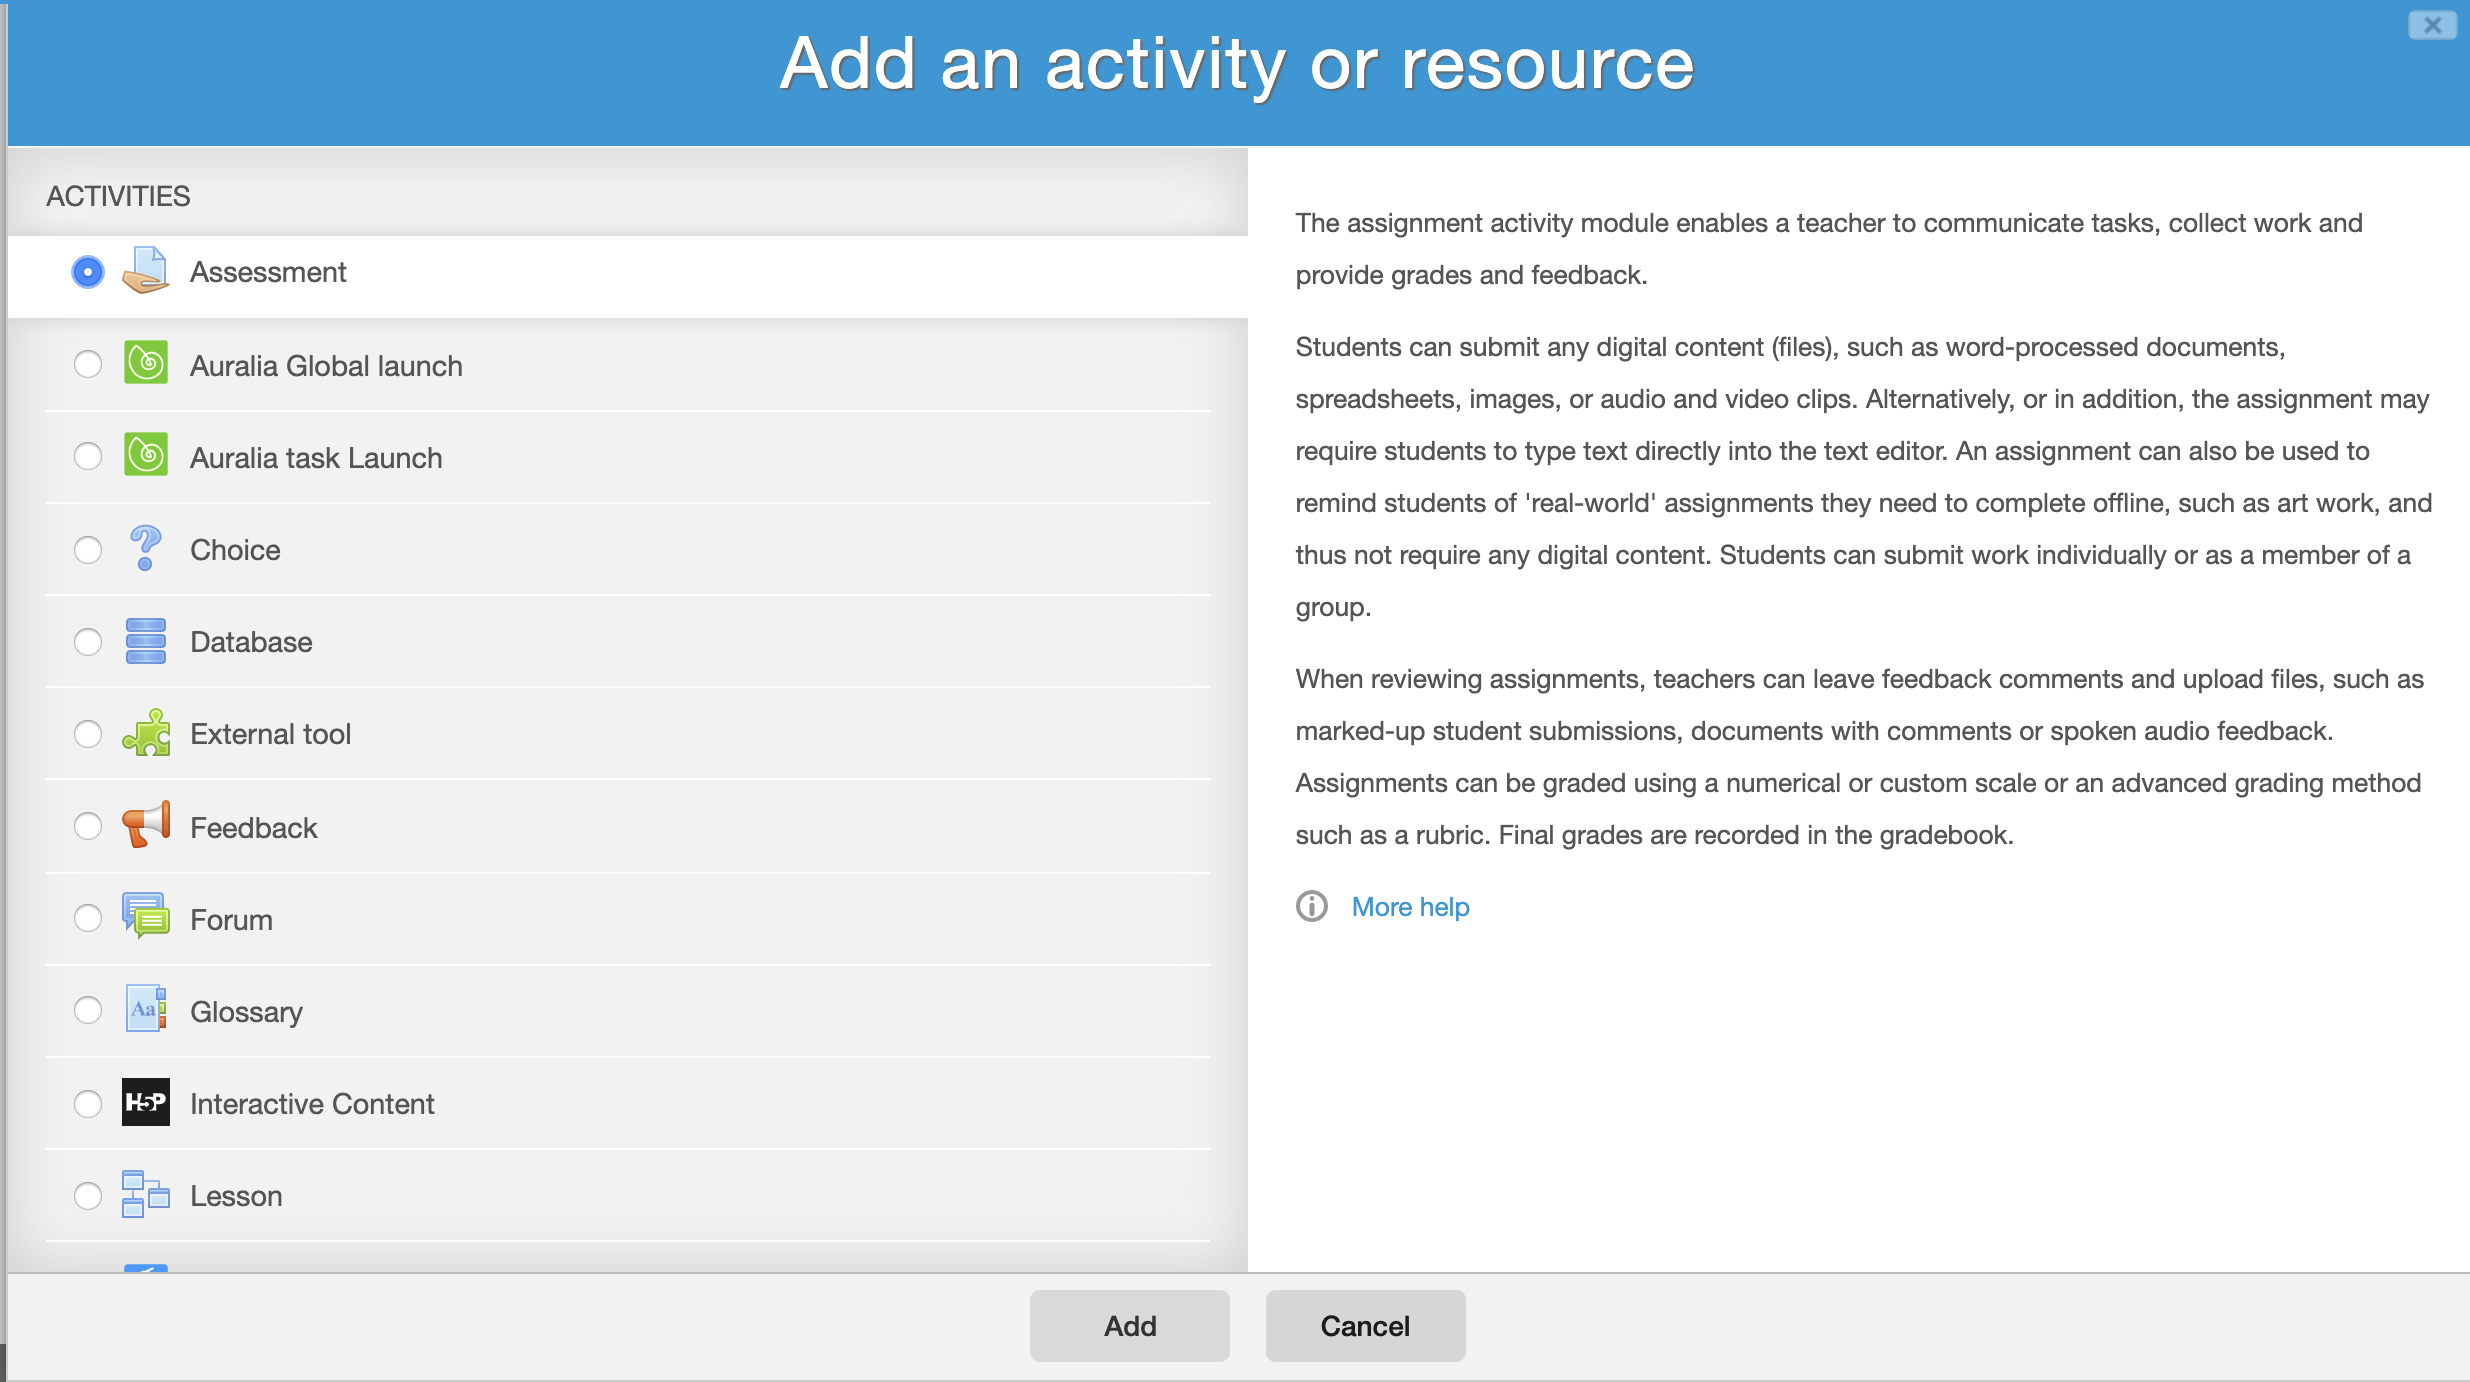
1. Log in to Moodle as you normally would, and locate the course page where you’d like to add an assessment. In the section where you’d like the assessment to appear, click the “Add an activity or resource“. Select “Assessment” from the list.
2. Enter the details of the assessment (ie, an assessment name, description, dates, etc) and scroll down the page until you’ve reached the “Submissions types” section.
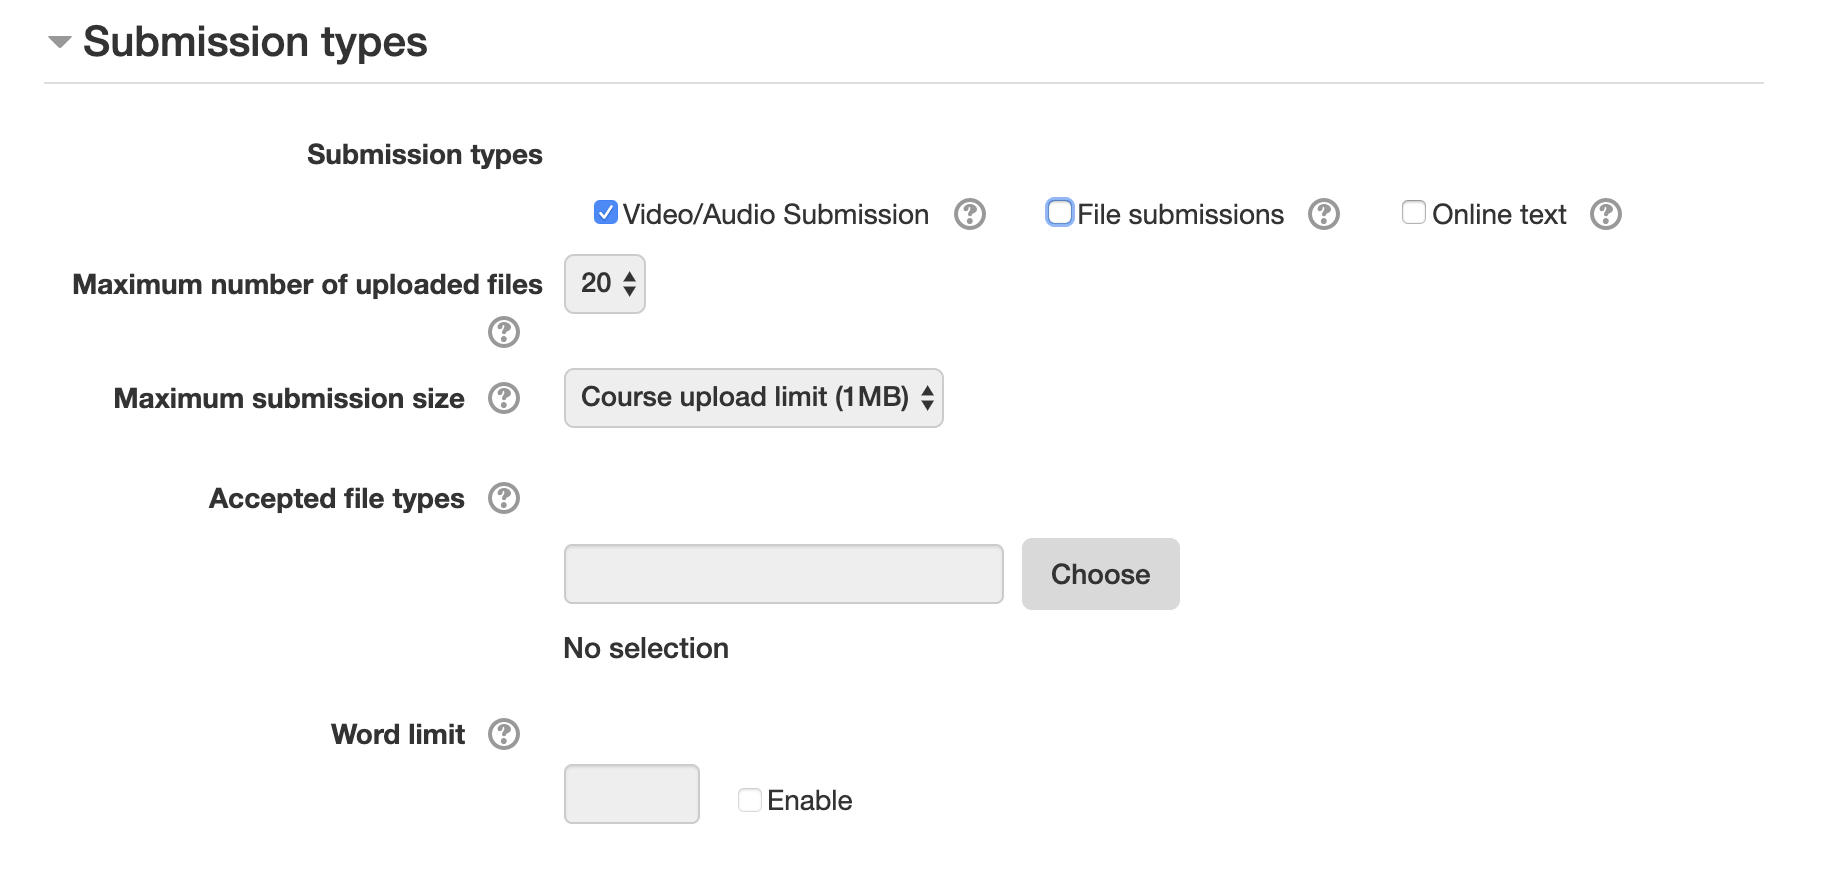
3a. If you’d like students to ONLY submit a video or audio file, please deselect the “File submission” checkbox, and select only the “Video/Audio Submission” checkbox.
3b. If you’d like students to submit a piece of writing along with a video or audio file, we would strongly recommend setting up 2 separate assessments – one with just the “Video/Audio Submission” submission type, and the other with “File Submission“. Students will then have to upload the correct file into the correct assessment
4. Click one of the “Save” buttons at the bottom of the page, and your assessment is now ready to receive audio/visual submissions.
How it looks for students
Video/Audio only
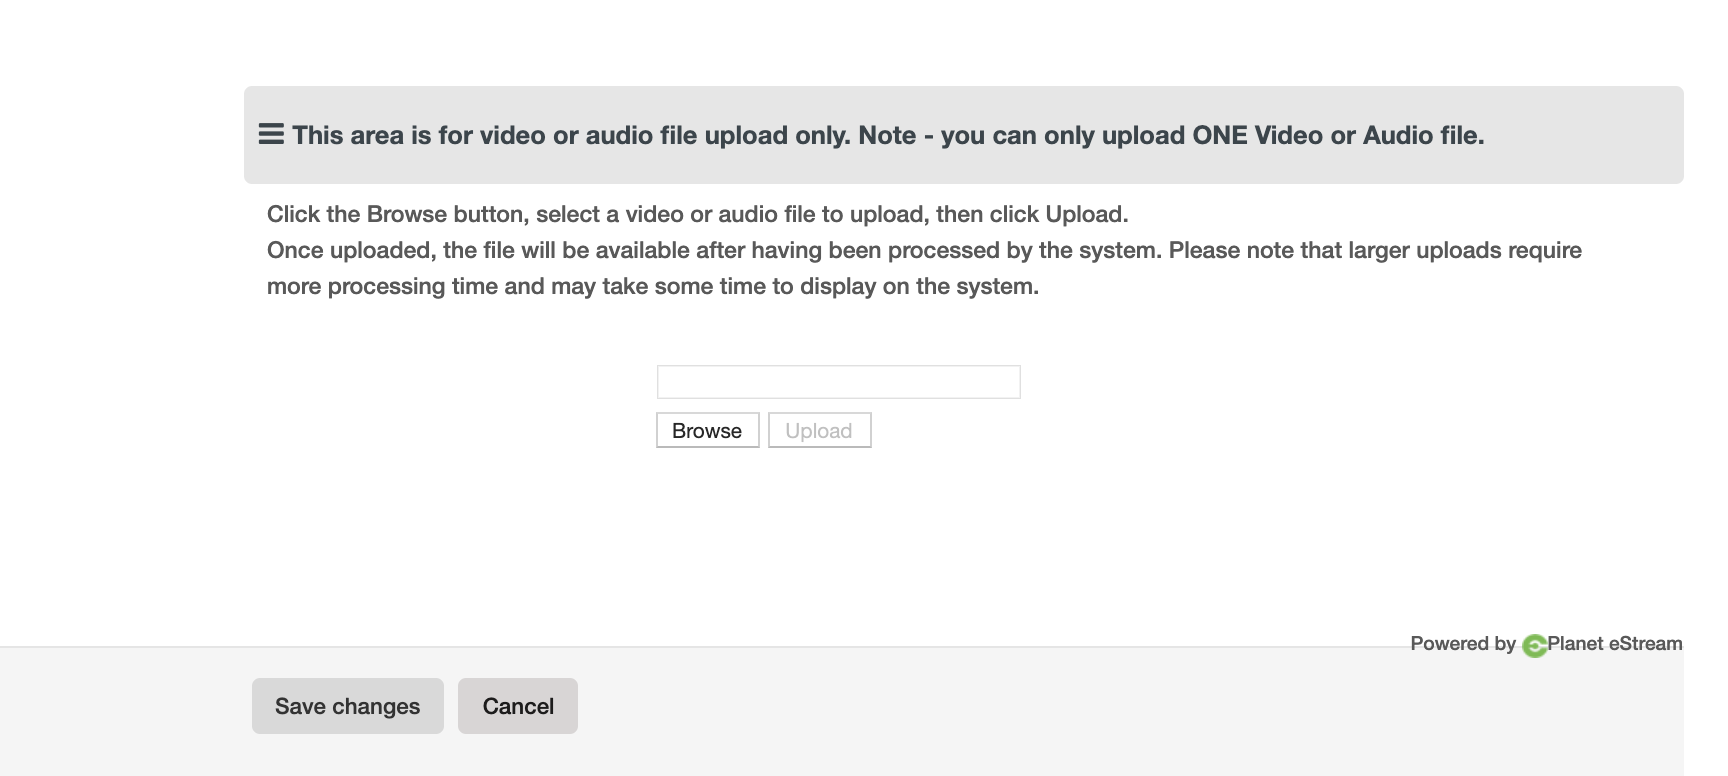
If you’ve selected Video/Audio only submission, students will only be able to upload 1 video or audio recording. If they try to upload others, it will overwrite the existing submission.
Video/Audio file and file submission
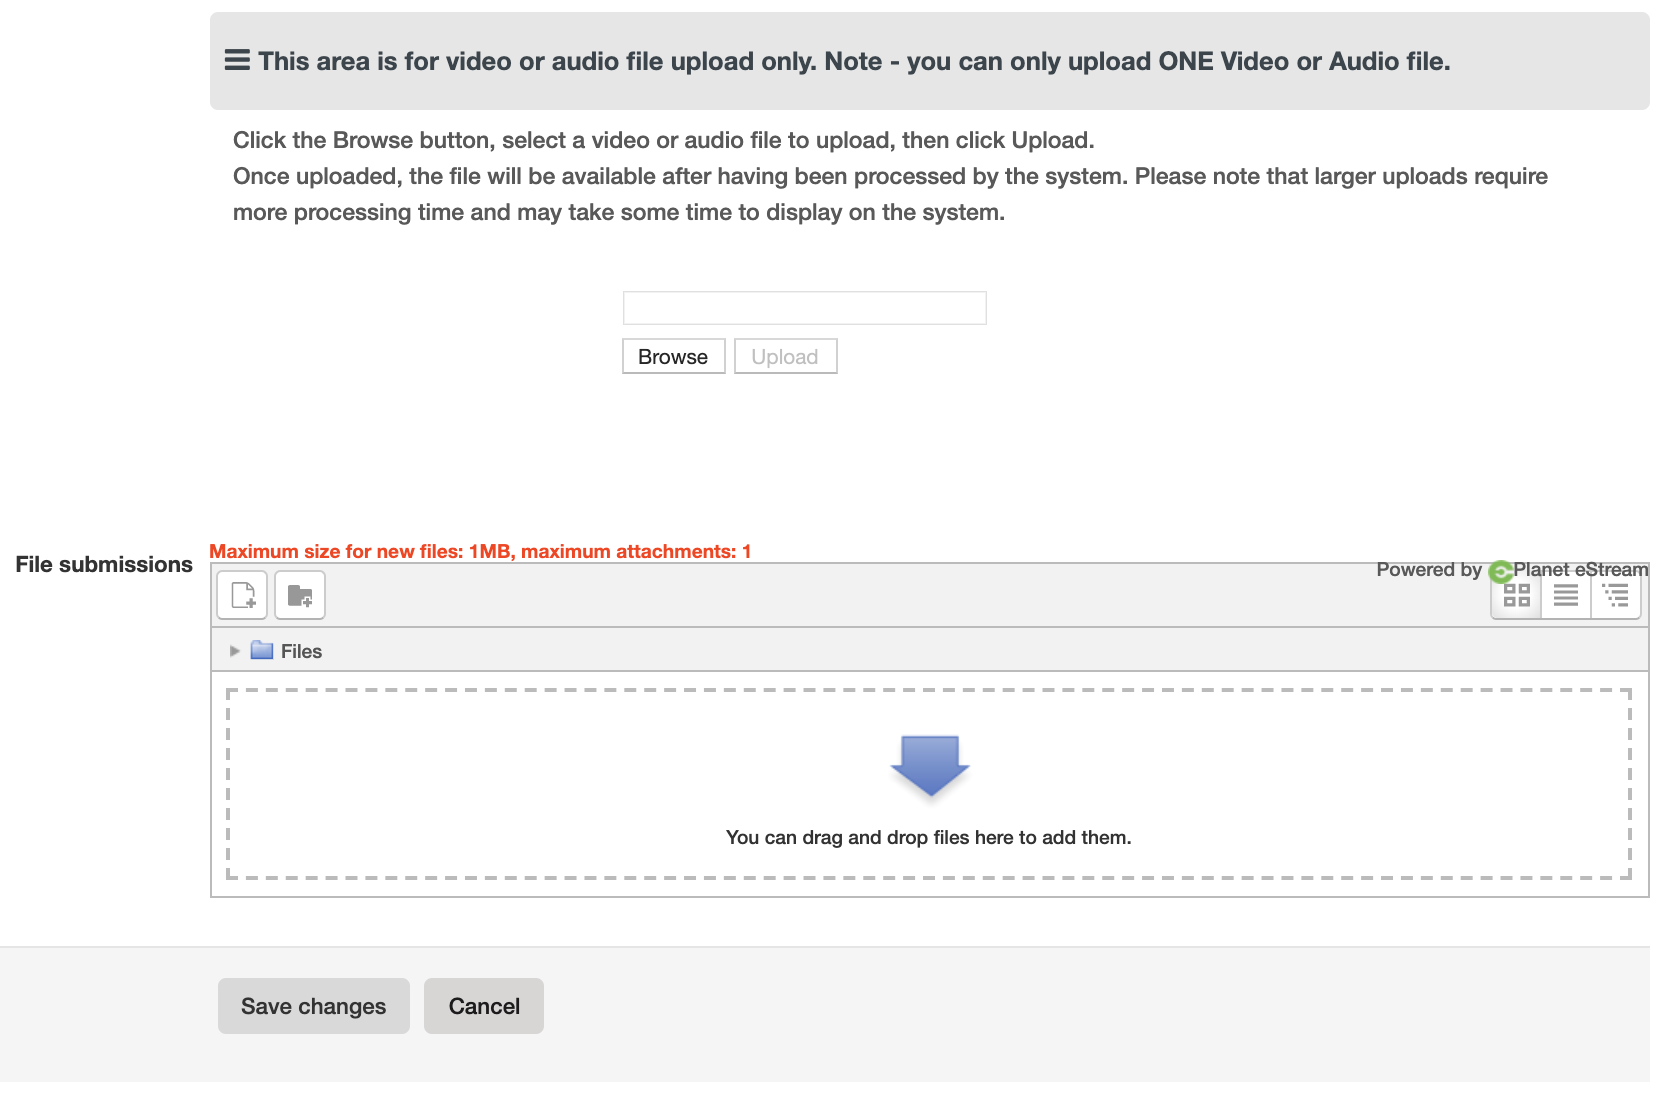
If you’ve selected Video/Audio only submission, students will only be able to upload 1 video or audio recording. If they try to upload others, it will overwrite the existing submission. If “File submission” is also selected, students will have access to an additional file uploader, which will be limited to a maximum file size and maximum number of files that can be set on the Assessment settings page.