
DaVinci Resolve works with a database system, as a result, your project will save into the DATABASE on your system. We will cover how to move databases(projects) between computers. The simplest way is using your external HARD DRIVE.
Step 1: Creating a new database on your external Hard drive
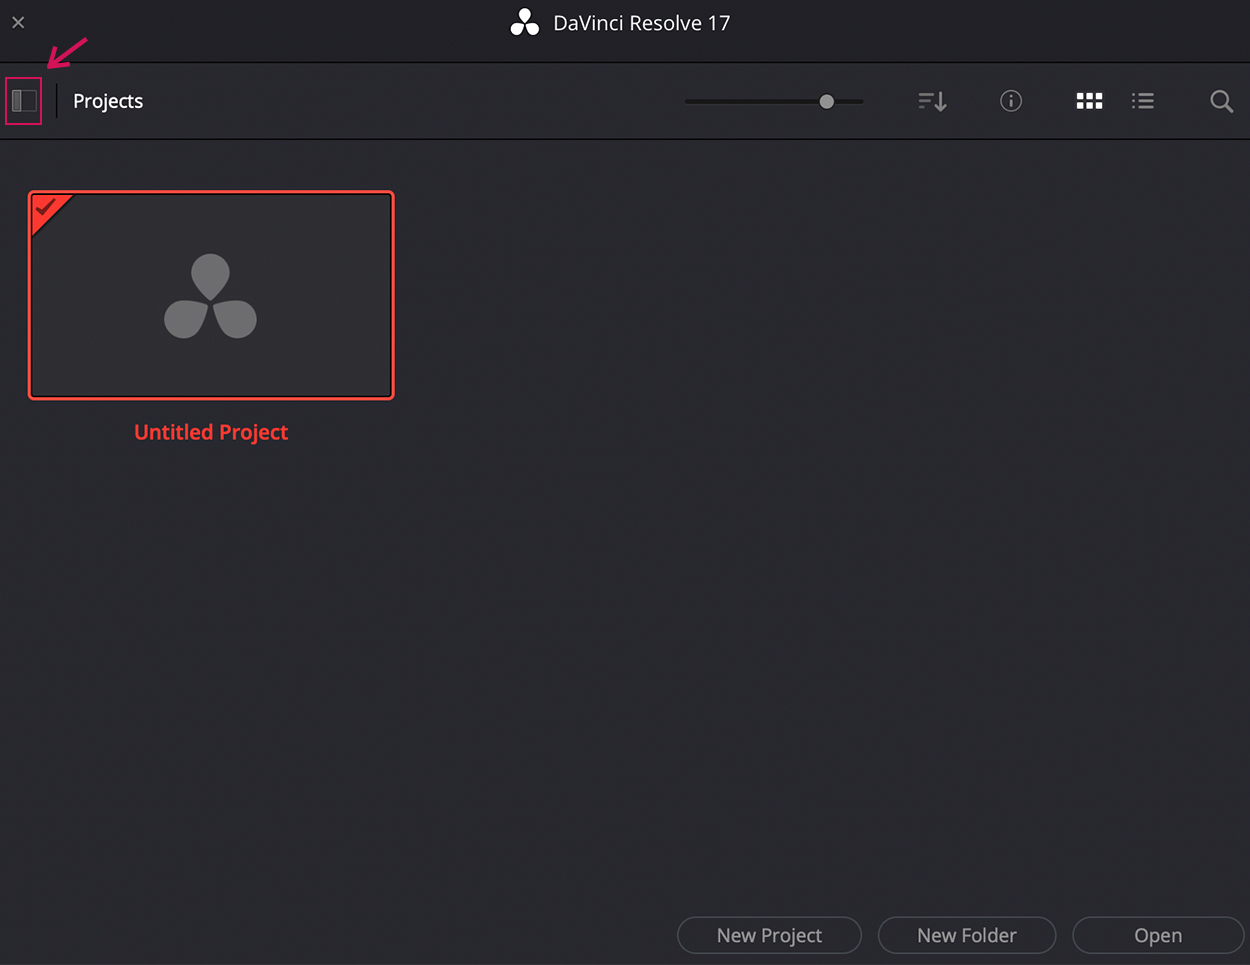
Connect your external hard drive to the computer you are working on. Create the folder named ‘Footage’ on the hard drive, and any kind of media you want to use for editing the video into this folder. Open up DaVinci Resolve and click on the Show/Hide databases.
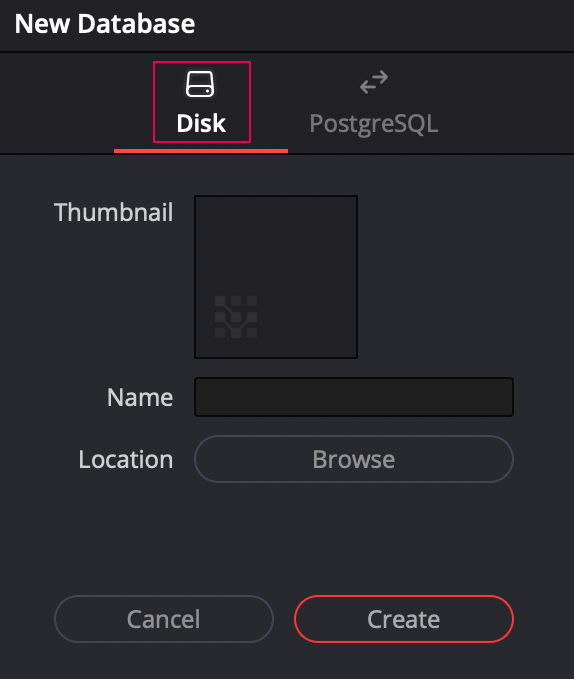
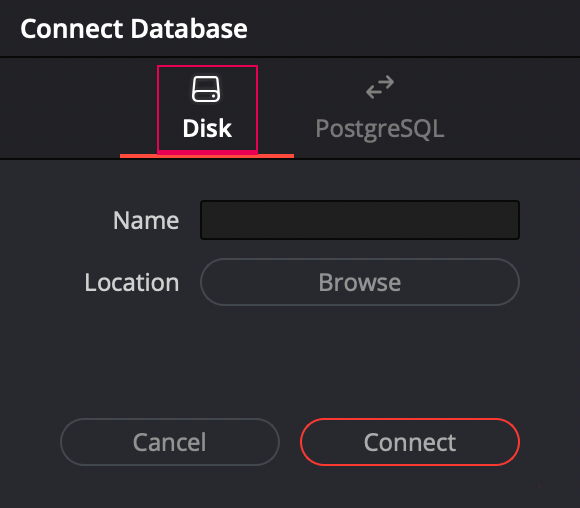
Create a new database – make sure you select ‘Disk’ (not ‘PostgreSQL’)
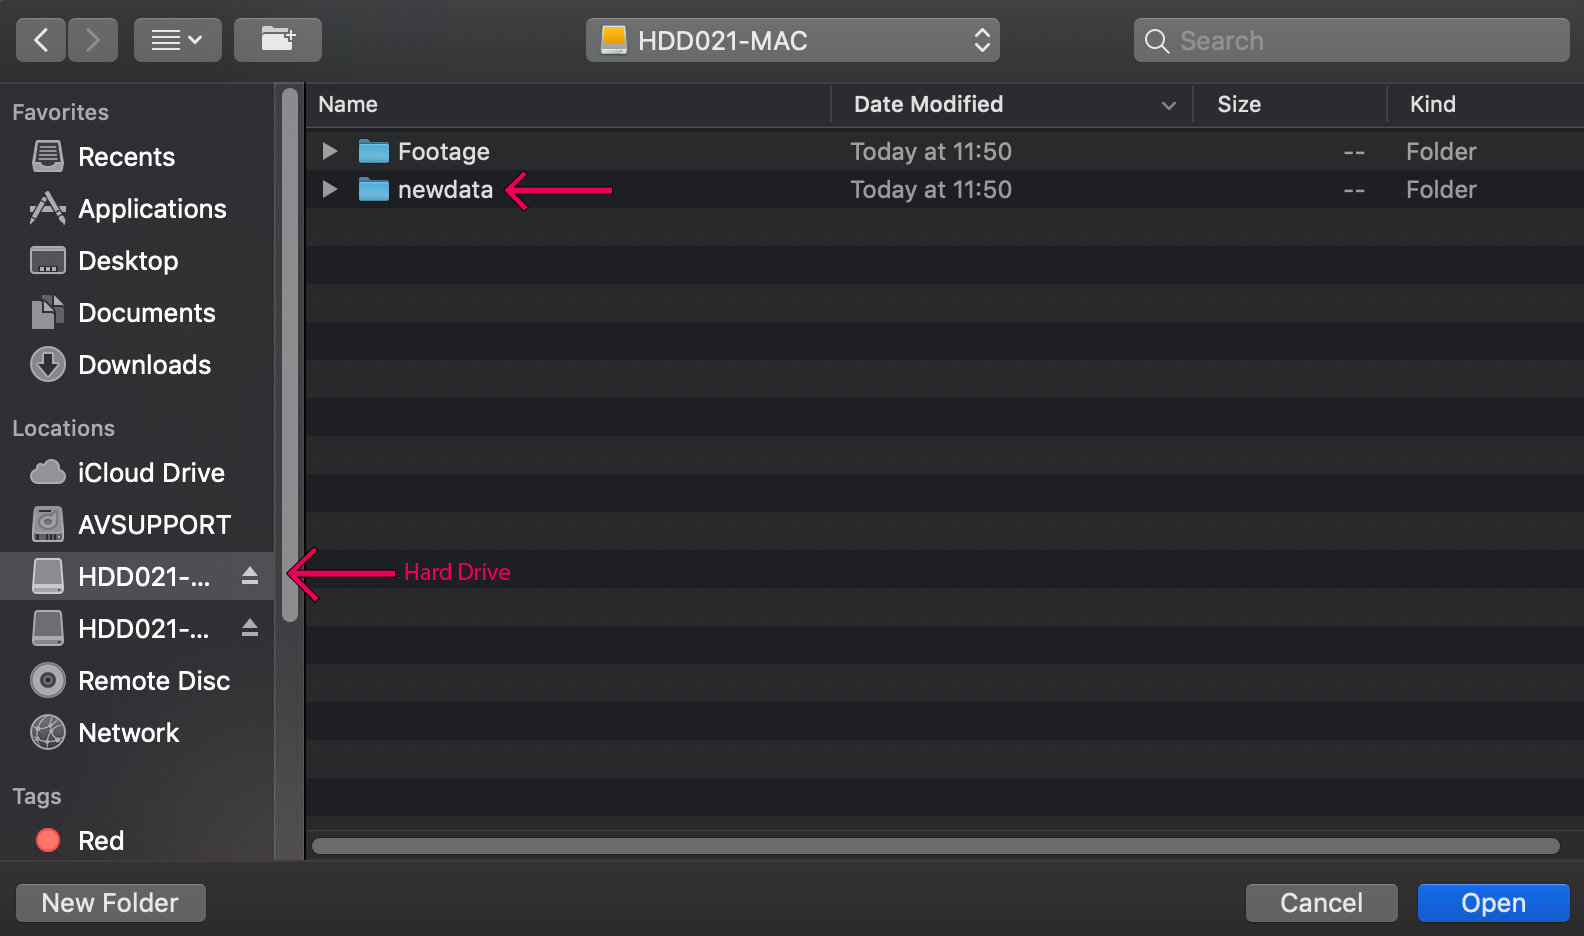
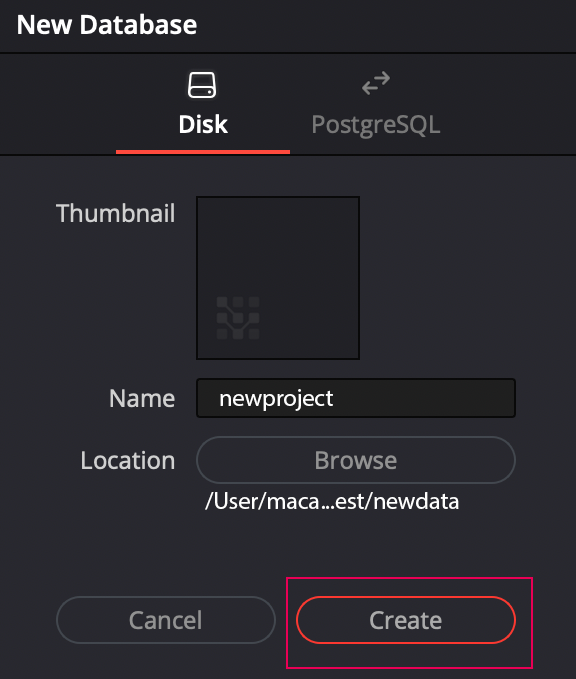
Give a descriptive name for the new database which you can easily find again later! (e.g. ‘newproject‘) Browse the location of this new database – Create a new folder into your hard drive and name it (e.g ‘newdata’)
Select Create!
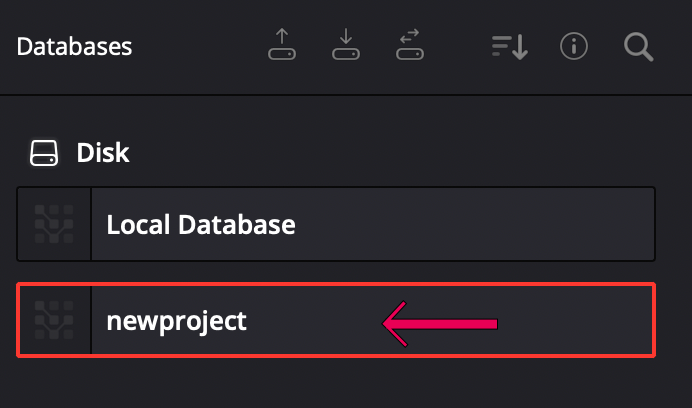
Now you can find the new database under the ‘Disk’ section.
Step 2: Creating a new project on the new database
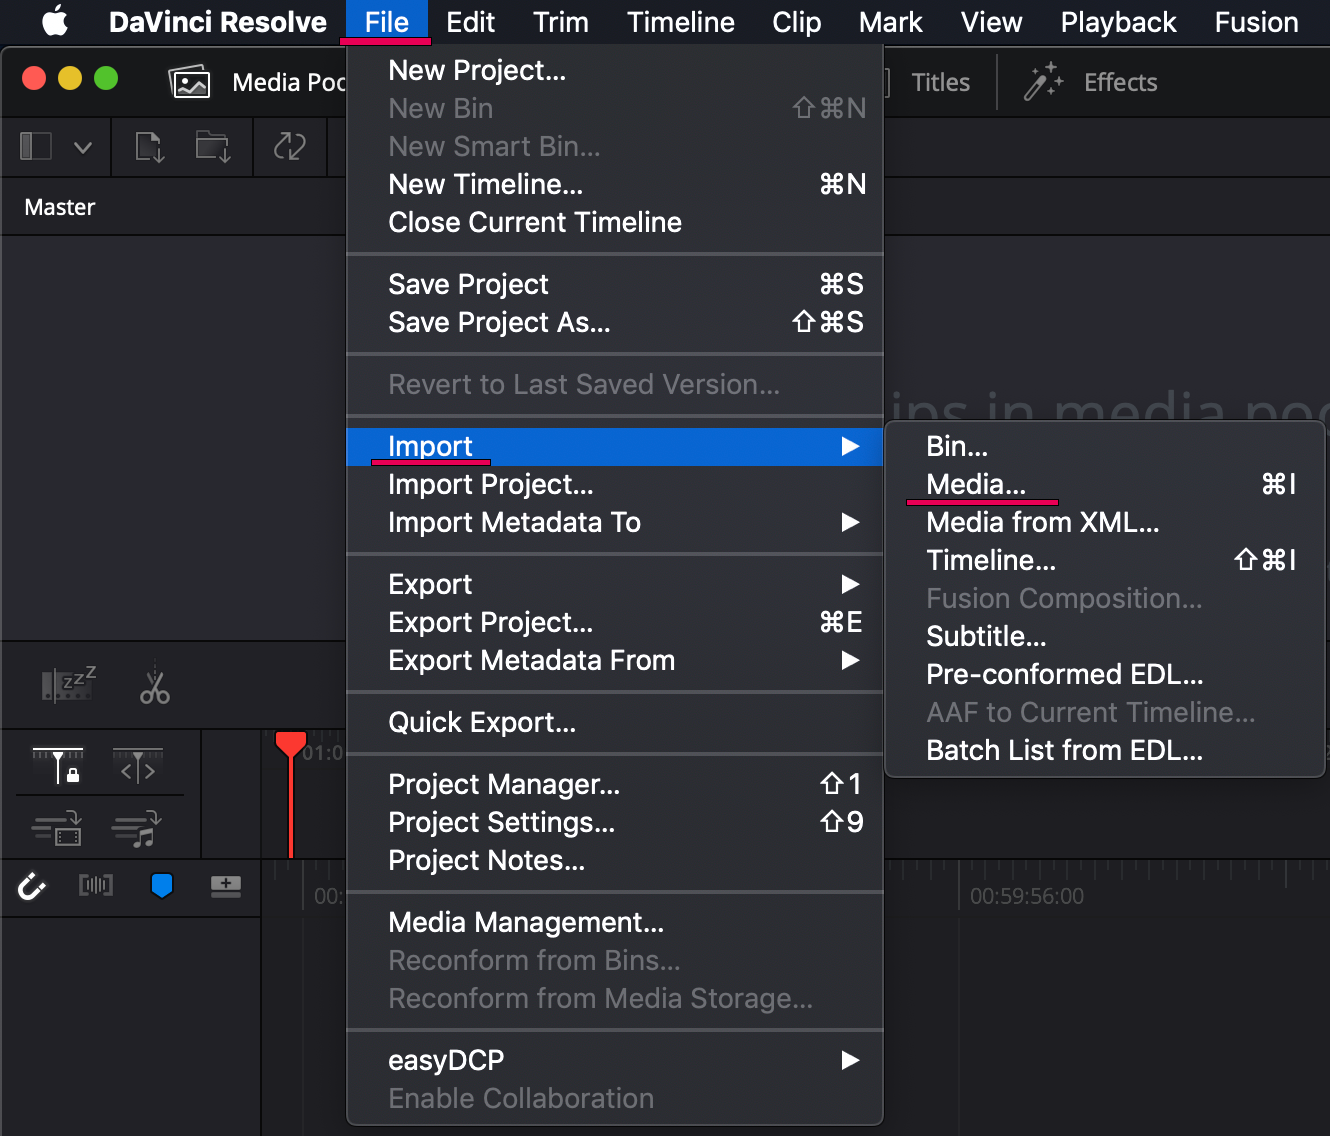
Open the new project under the new database you created and import footage from the hard drive! To do this, either go to ‘File’, ‘Import’ and then ‘Media’, or simply open your files (from footage folder on your hard drive) in a separate window and then drag them over into the ‘Media Pool’ in DaVinci.
Edit the video and do not forget to save when you finish.
Along the bottom of your screen, you will see this bar – each button brings up a different screen, intended for a specific job. For now, we are just going to focus on the ‘Project Manager’ tab (the bottom of right-hand side corner).

Select the ‘Project Manager’ tab, right click the new database you created and DISCONNECT. *It is just disconnecting the database and the computer, the new database is safe in the HARD DRIVE.*
Step 3: Connecting the database on the new Computer
Once you connect hard drive to the new computer, open DaVinci Resolve.
You can find the Connect Icon on the top of lefthand side corner.
![]()
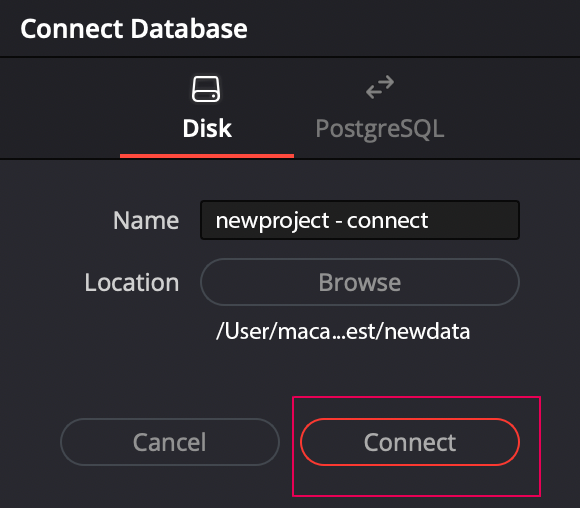
Select ‘Disk’ and name it (It might be confusing to name another ‘Database’, but it is just naming the ‘connection’ between your database on the hard drive and the computer.
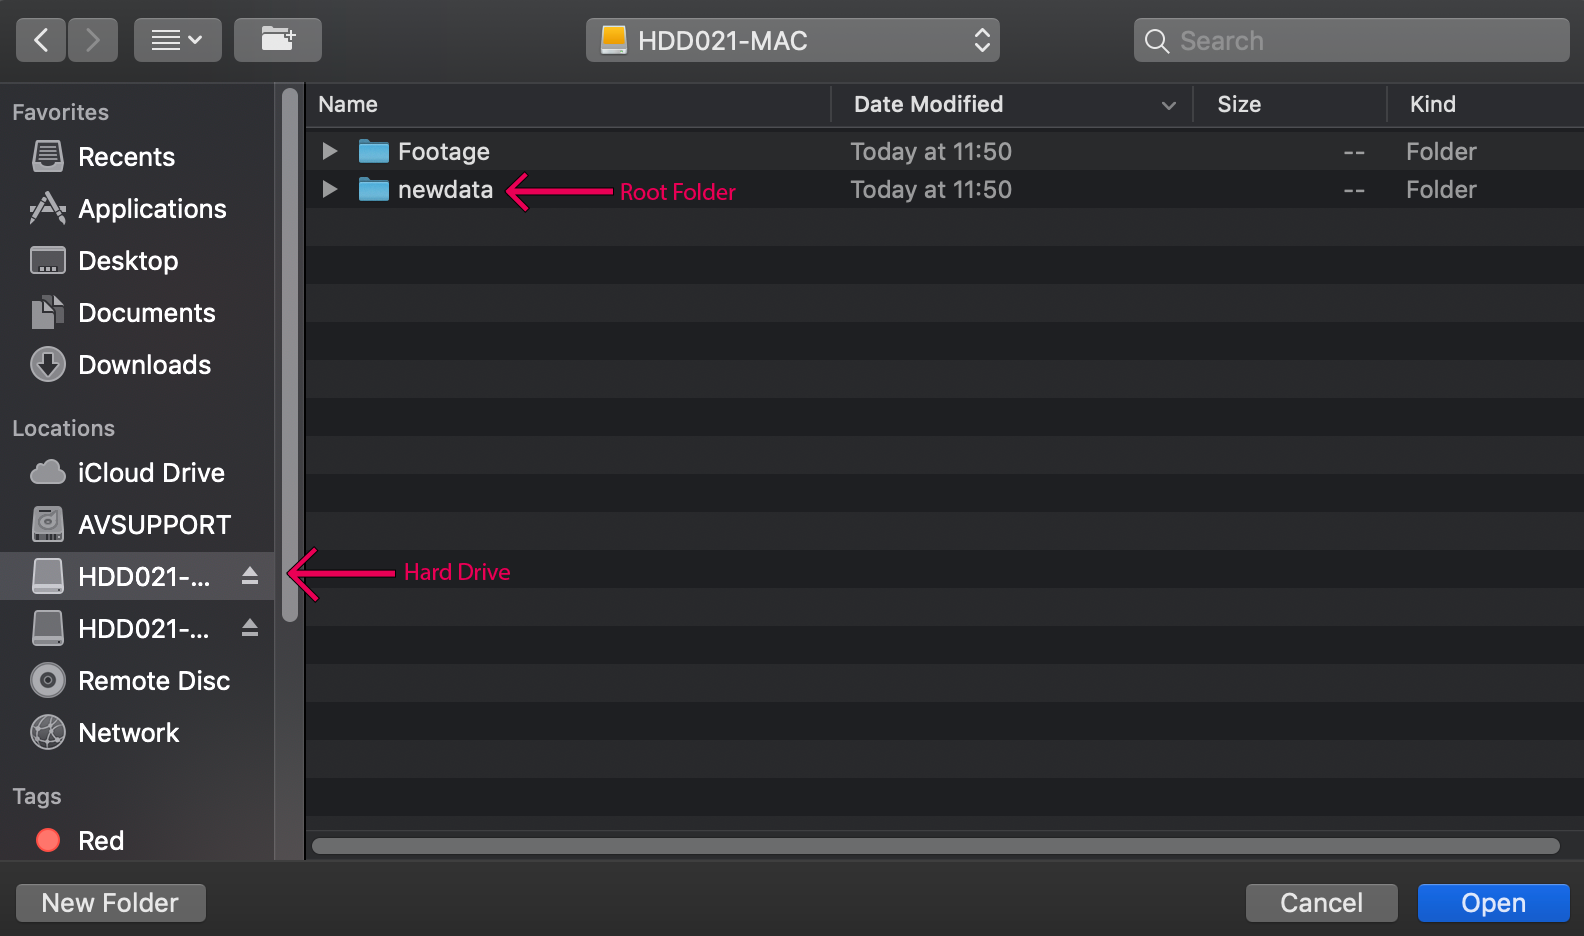
Browse the location of the hard drive and select the folder (root folder) you created, and click open.
Select Connect !
You can find same Database(project) you worked on the old computer.