
This article will go through a step-by-step guide on how to make Teams recordings private.
Step-by-step guide
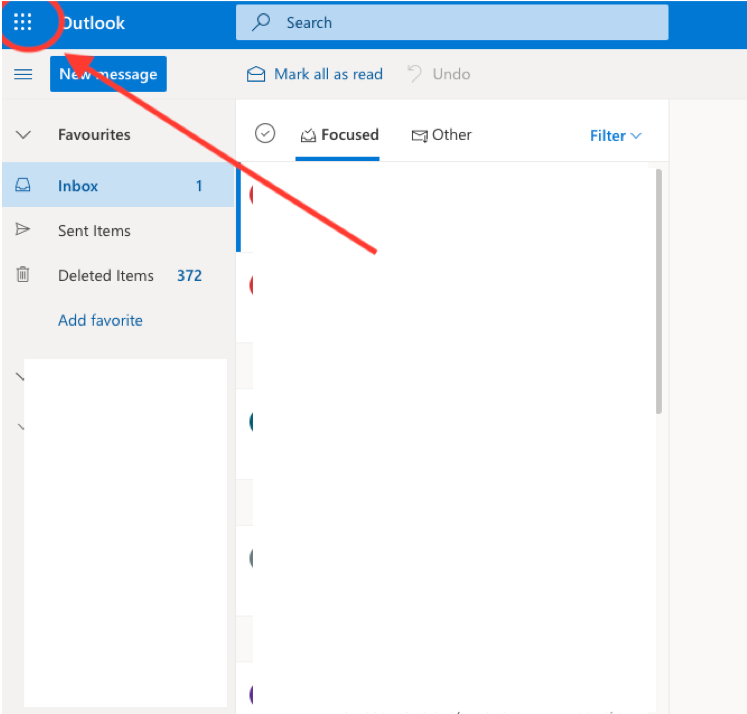
1. Go to Outlook online and click on the menu button in the top left-hand corner
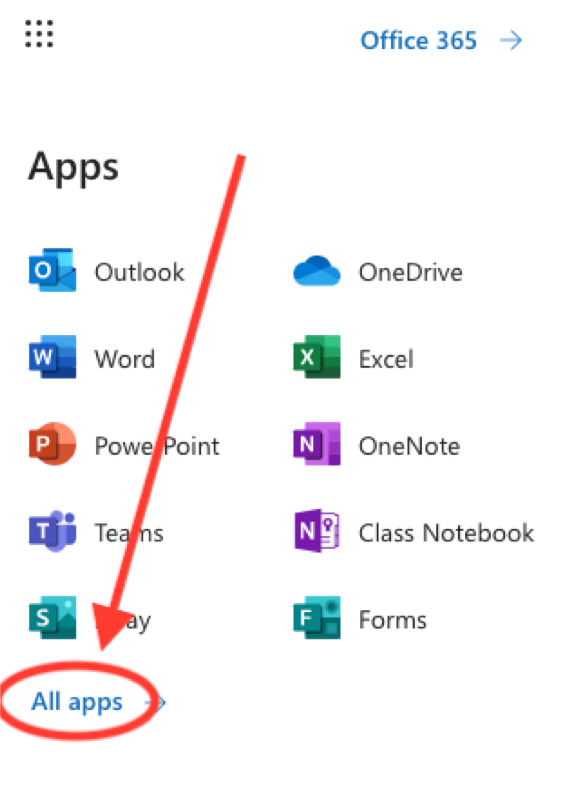
2. Click ‘All Apps’ on the menu
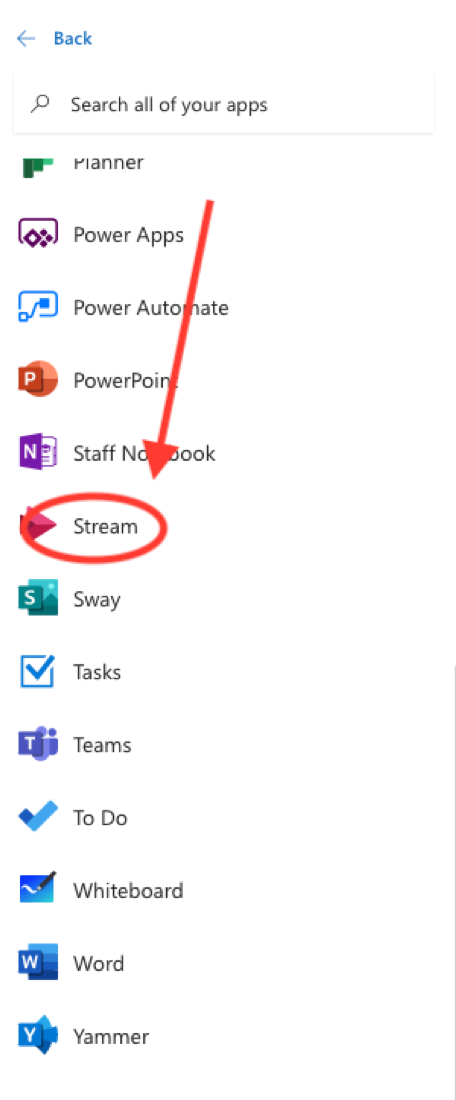
3. Click on Stream
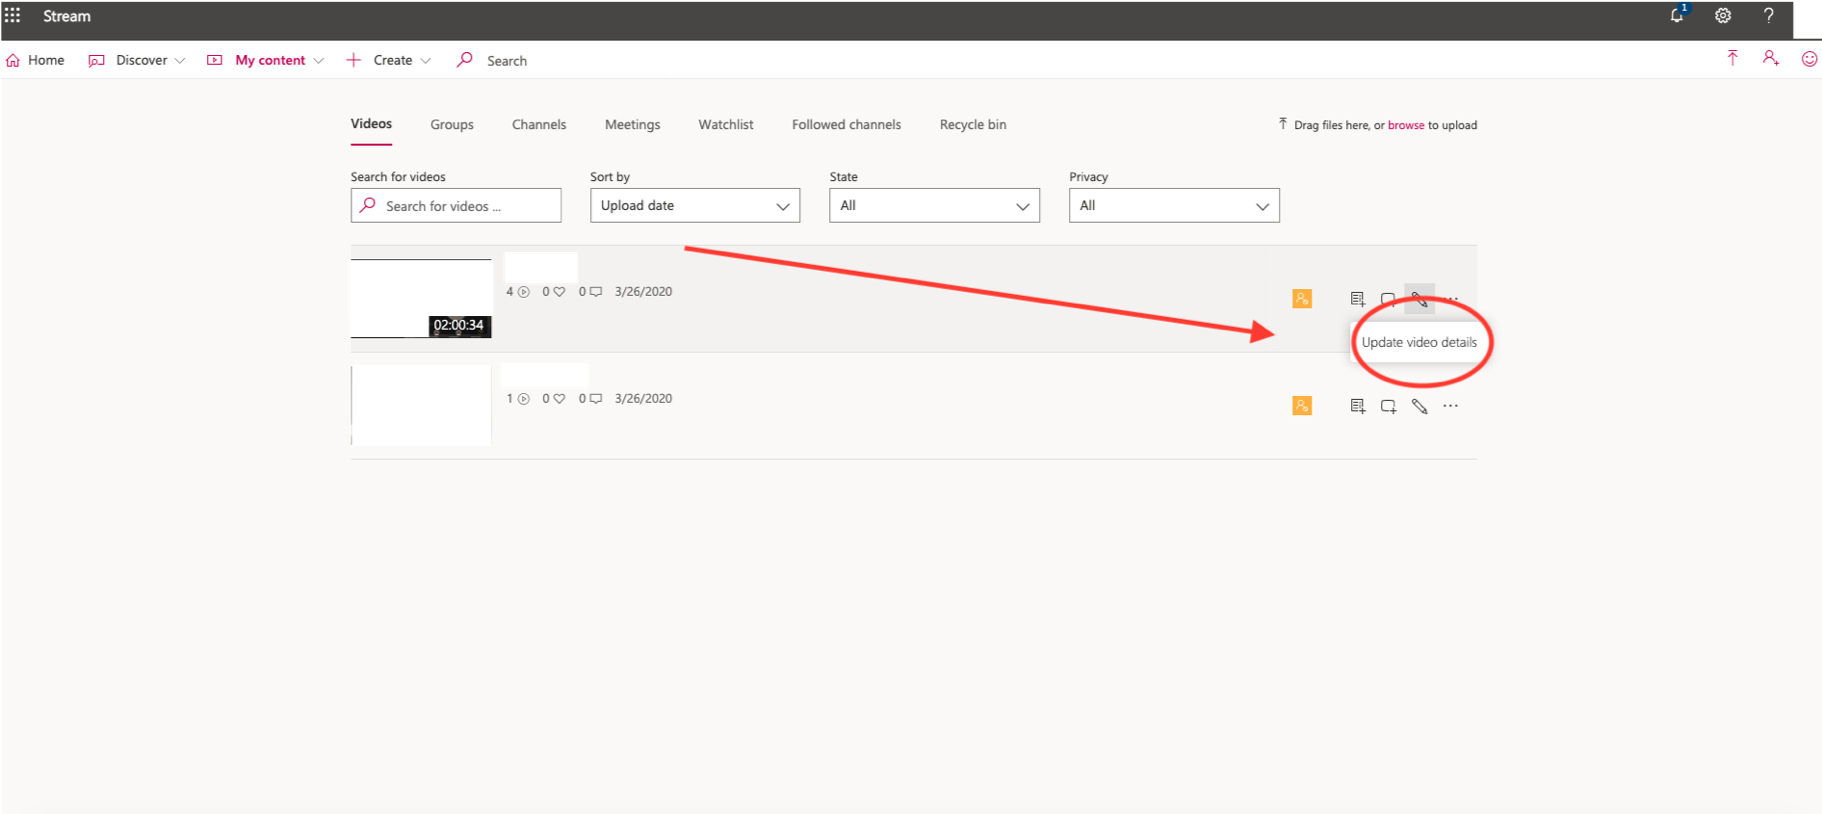
4. Go to ‘My Content’ and click ‘Videos’

5. Click ‘Update video details’
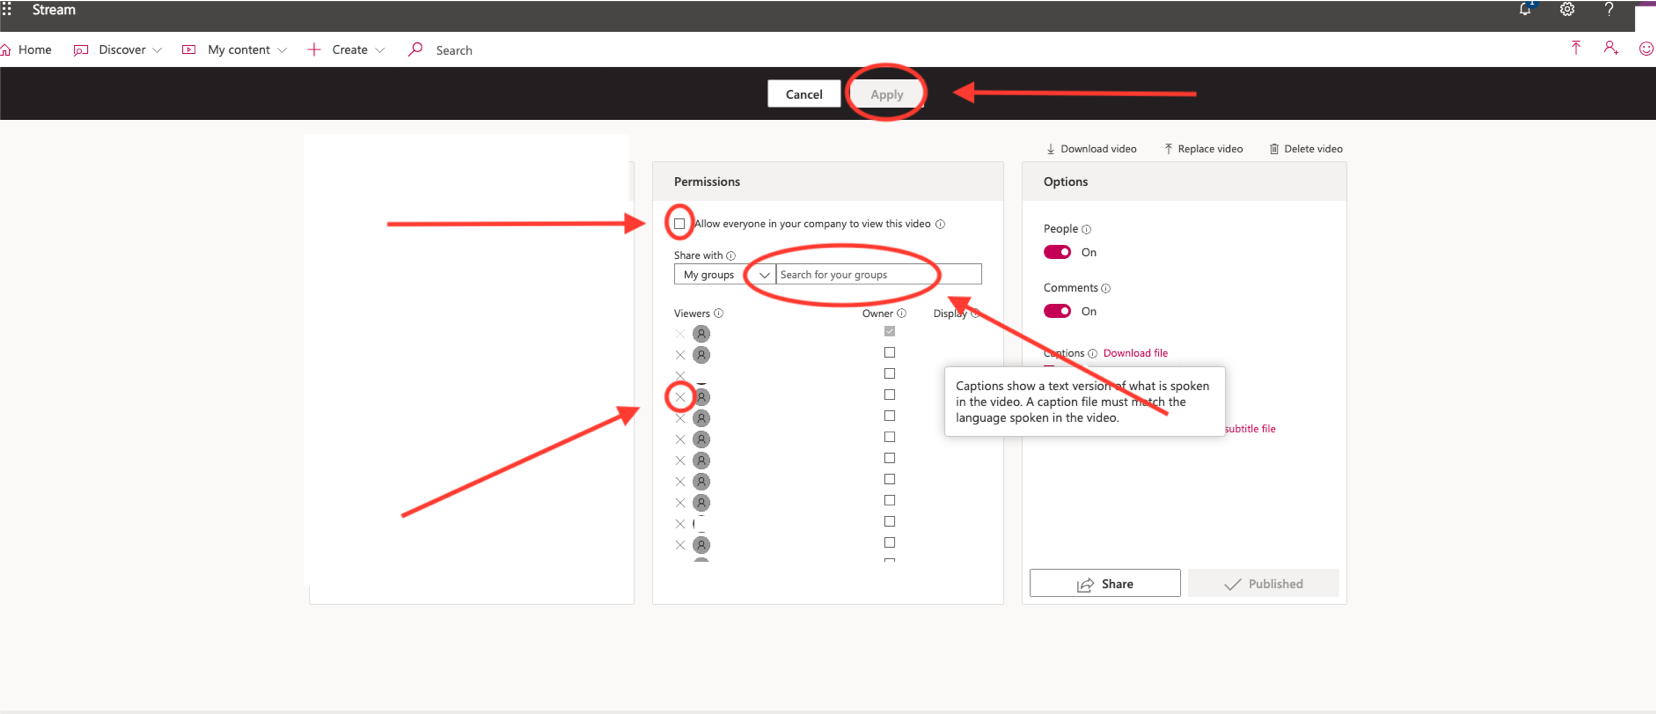
6. Make sure ‘allow everyone in your company to see this video’ is unticked. Add who you want to be able to view the video by searching their name in the search bar and remove people by clicking the ‘x’ next to their name. Click ‘Apply’ once you are finished.
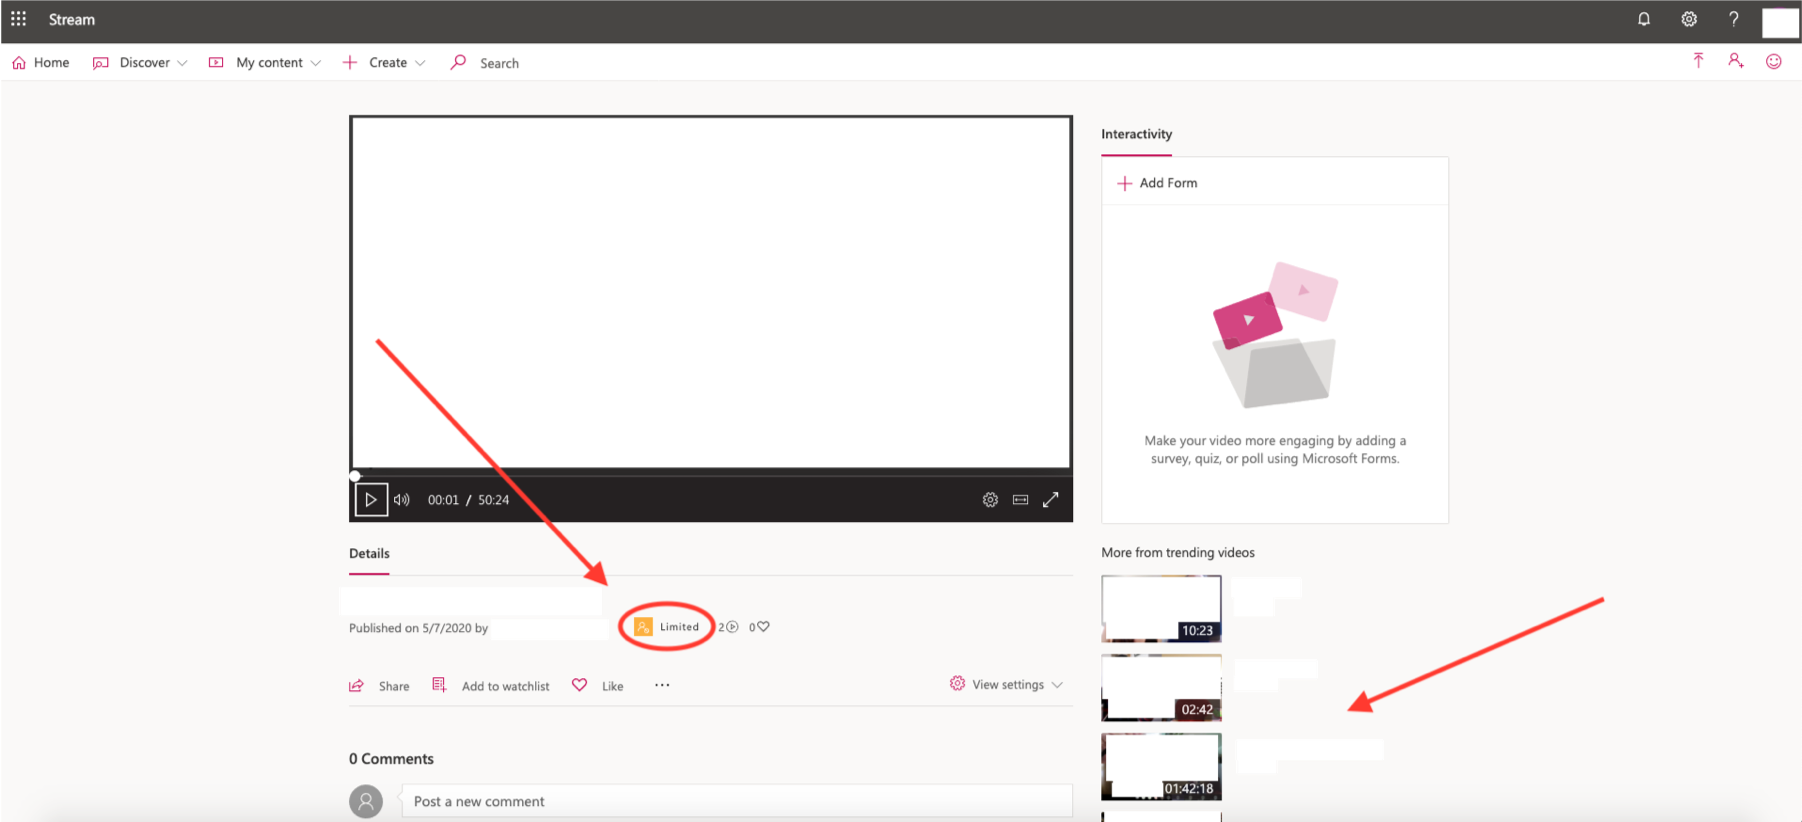
7. If you have made your video private to the whole organization, it should show as ‘Limited’ (see yellow icon below). If your video is visible to everyone at TL, it will show as ‘Company’ (see green icon below). If your video is listed as ‘Limited’, it may still appear in the right-hand trending bar for you. That does not mean it is visible to others.
Need extra support?
Get in touch here