This article explains the basics of using OpenShot to edit video content.
OpenShot is a free and open-source, video editing software. Compared to software like Premiere Pro and DaVinci Resolve, it’s very simple. It would be best suited to people who are new to editing, or people with computers that have less processing power.
Installing OpenShot
OpenShot is available as a free download for Windows and Mac. You can download it from the OpenShot website, linked here.
Starting a new Project
When you open OpenShot for the first time, it will automatically set your video profile to “HD 720p 24fps”. You can change this by clicking on the icon that looks like camera film.
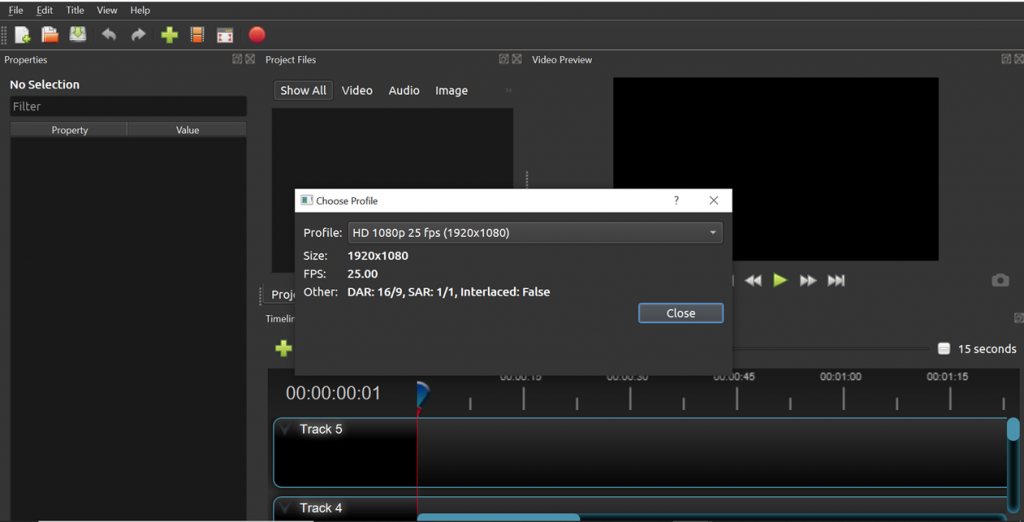
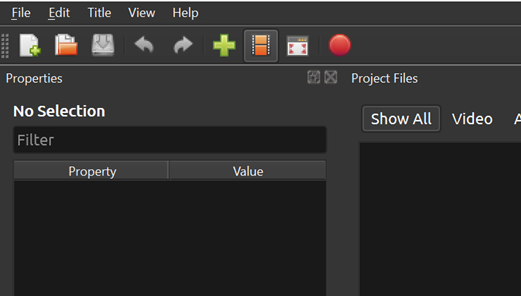 You can then select the profile you would like to use from the drop-down menu. We’d recommend changing your profile to 1080p and between 24 and 30fps.
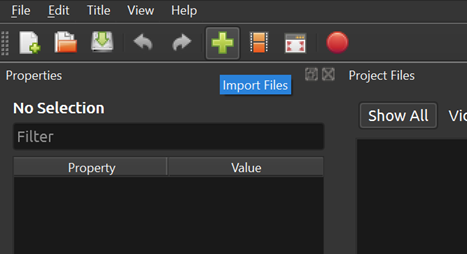
You can then begin importing your files to OpenShot, using the green plus sign, next to the video profile button.
Exporting from OpenShot
To export from OpenShot, select the red, circular export button from the options at the top of the screen, or go to File – Export Project.
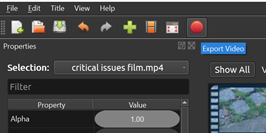
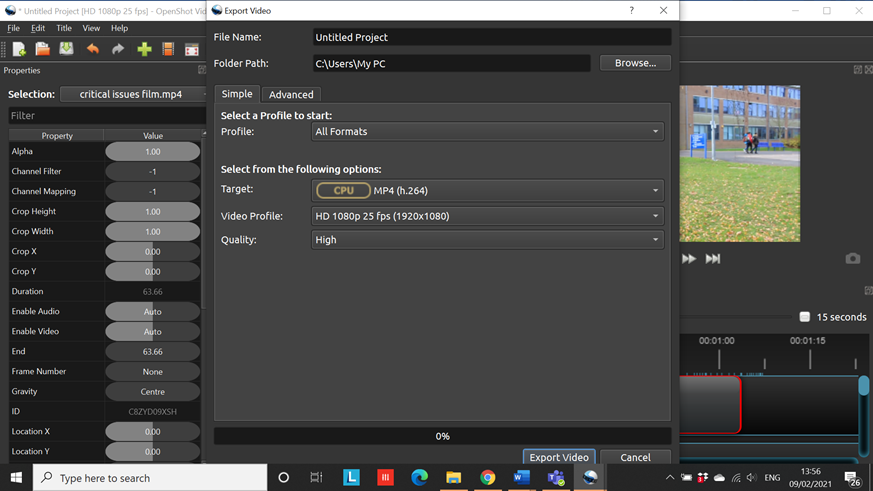
A window containing exporting options will then appear. Here you can title the file, designate where it should be saved to and choose your export options. You should then hit Export Video.
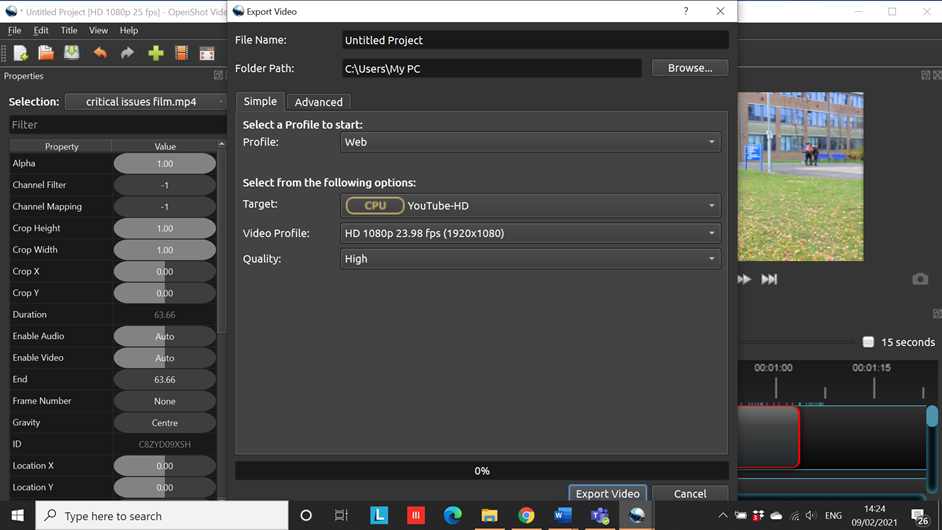
If you are exporting for CoLab, or want to share the video online, you can use a different set of export settings. From the Profile drop-down select Web and then from the Target drop-down, select YouTube or YouTube-HD.
Extended Tutorials
If you would like further walkthroughs on OpenShot, there is a user guide that can be accessed on their website.
For additional support, please contact avsupport@trinitylaban.ac.uk.
