
![]() This content is related to the Faculty of DanceRelated Faculty of Music content: n/a
This content is related to the Faculty of DanceRelated Faculty of Music content: n/a
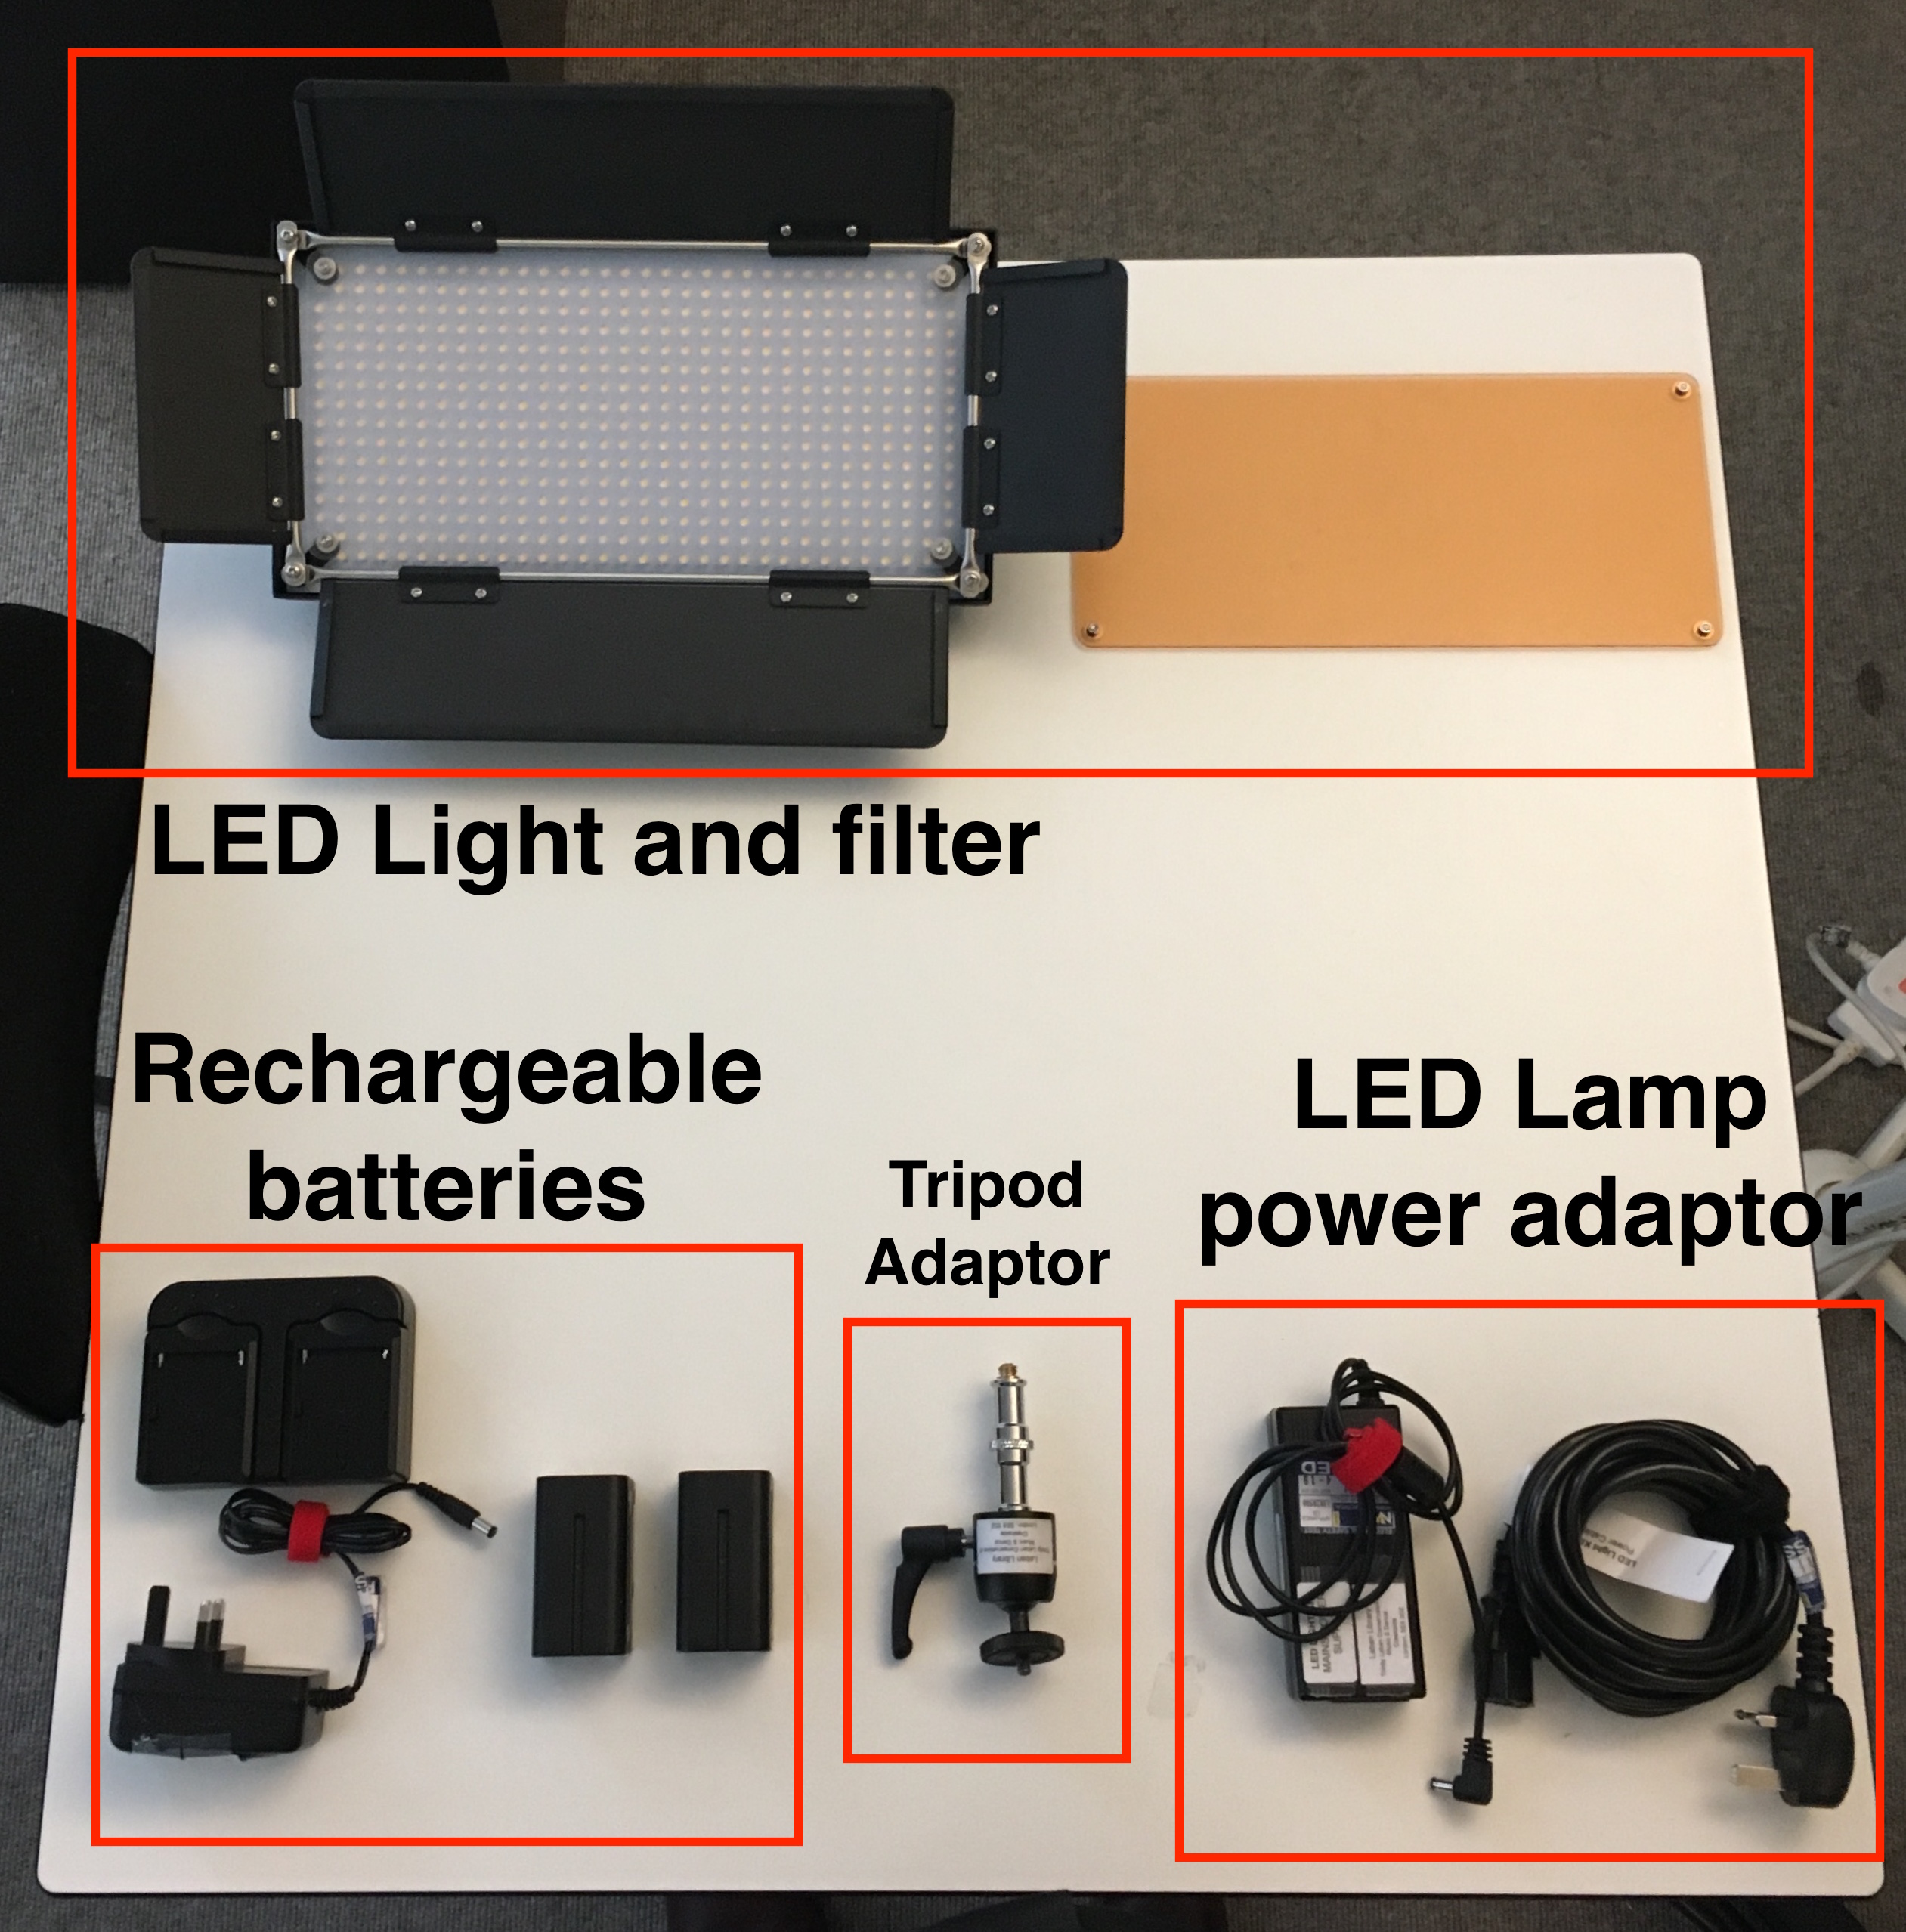
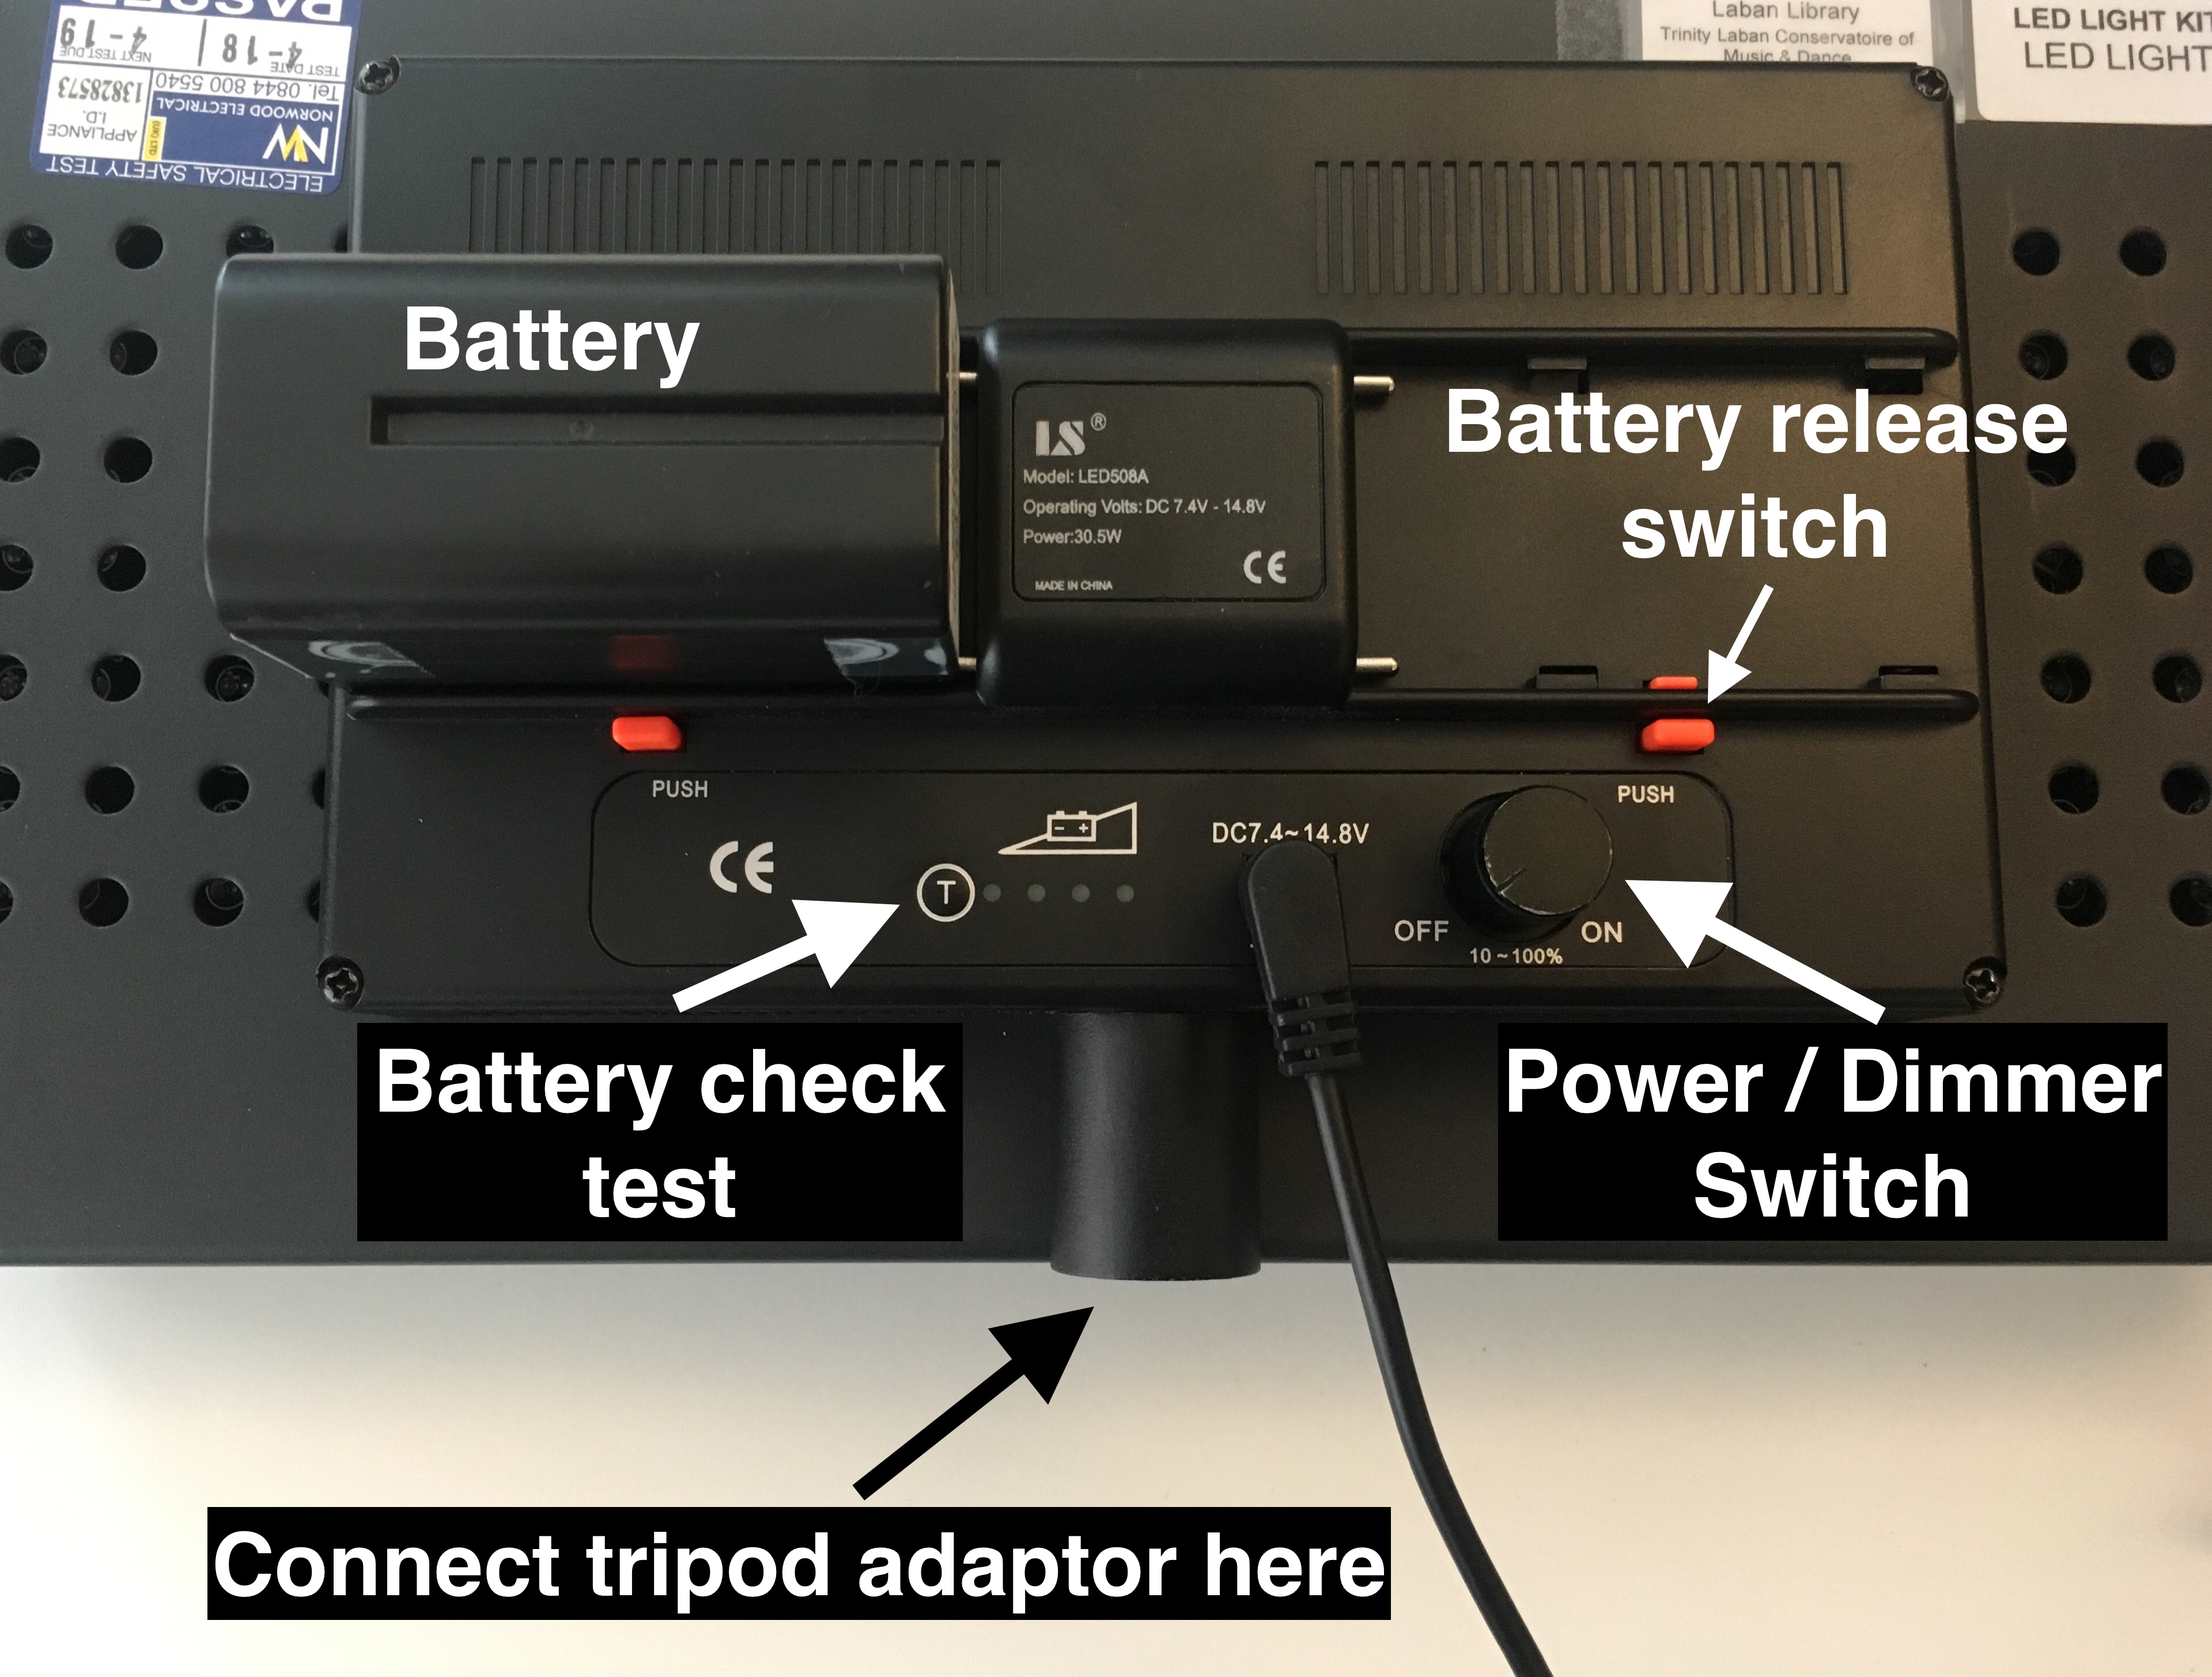
The LED light kit comes with two sets of LED lamps, stands, tripod adaptors, power supplies, and rechargeable batteries.
Setting Up
- To setup the tripod, locate the bottommost screw by the start of the tripod legs and unlock this by twisting it counter-clockwise.
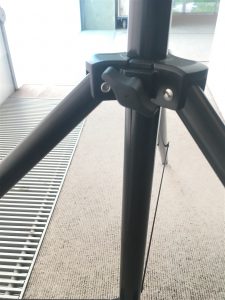
- Carefully unfold each leg, then you should be able to spread the tripod legs out to your desired position. Once that is done you can twist the screw clockwise to secure it firmly.
- If you need more height, there are two more screws below the topmost one, that you will let you extend the tripod higher
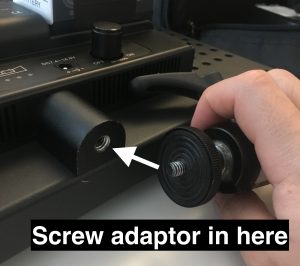
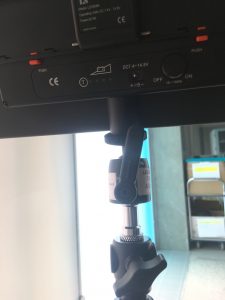
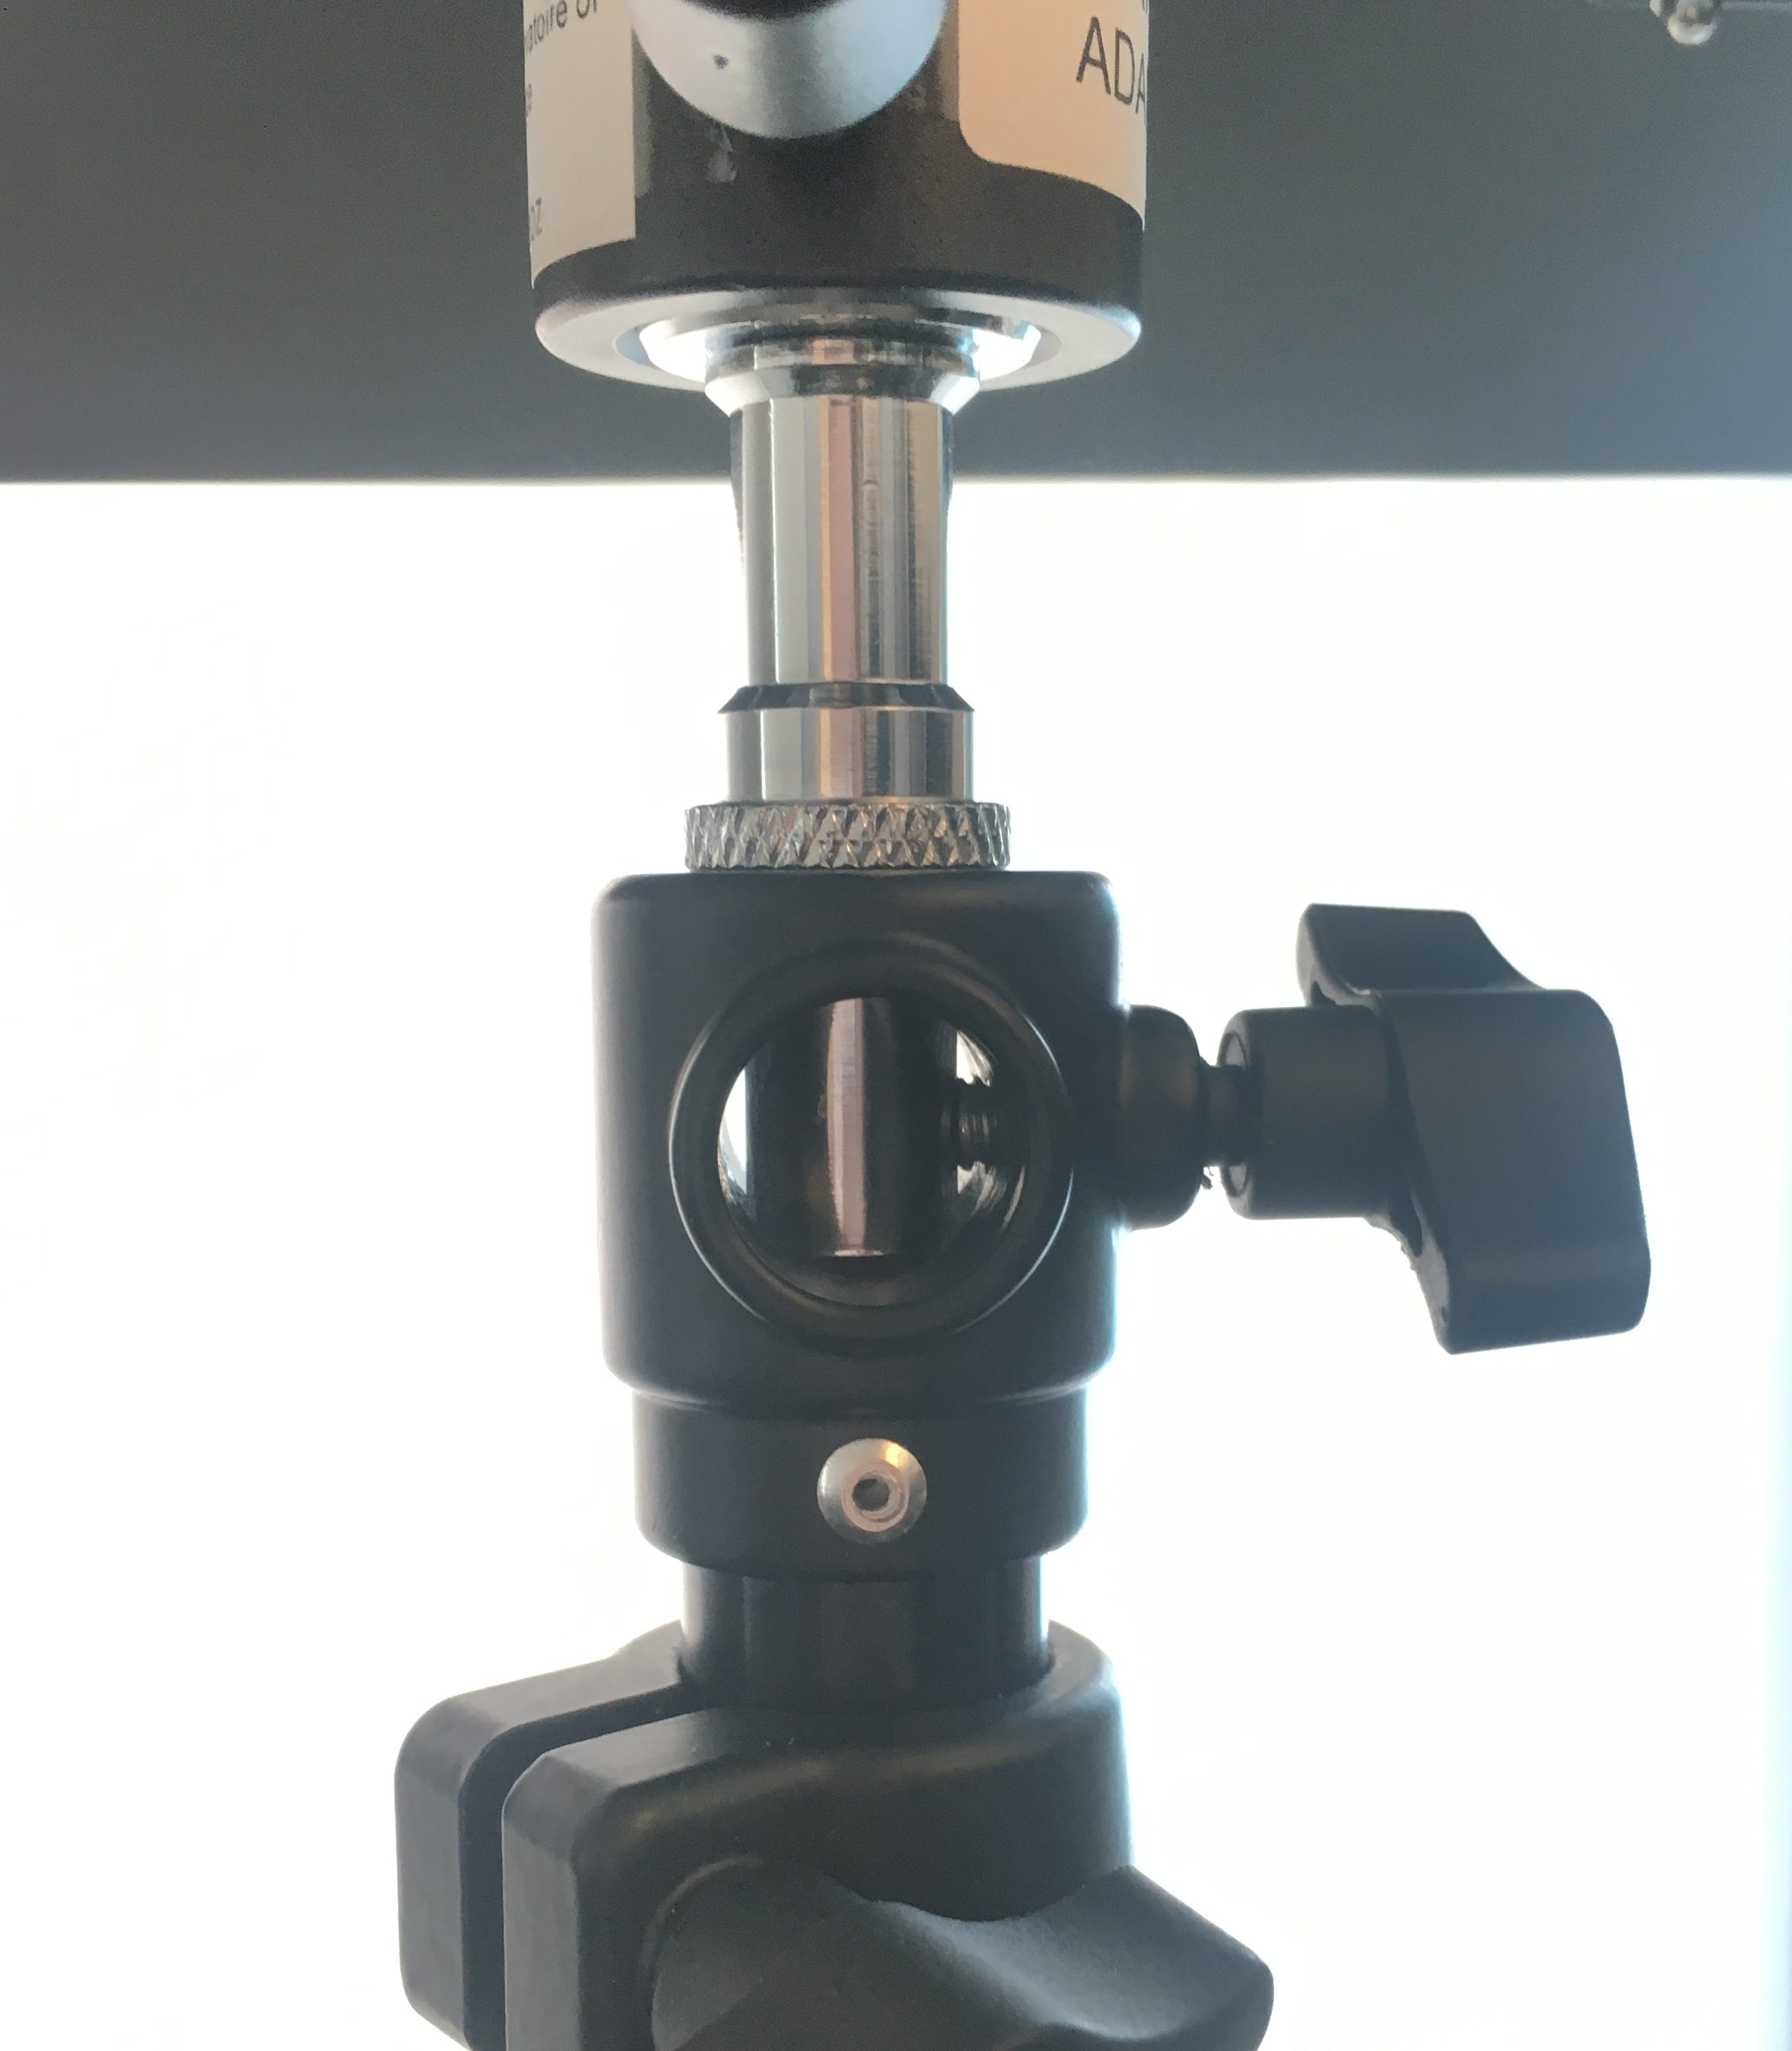
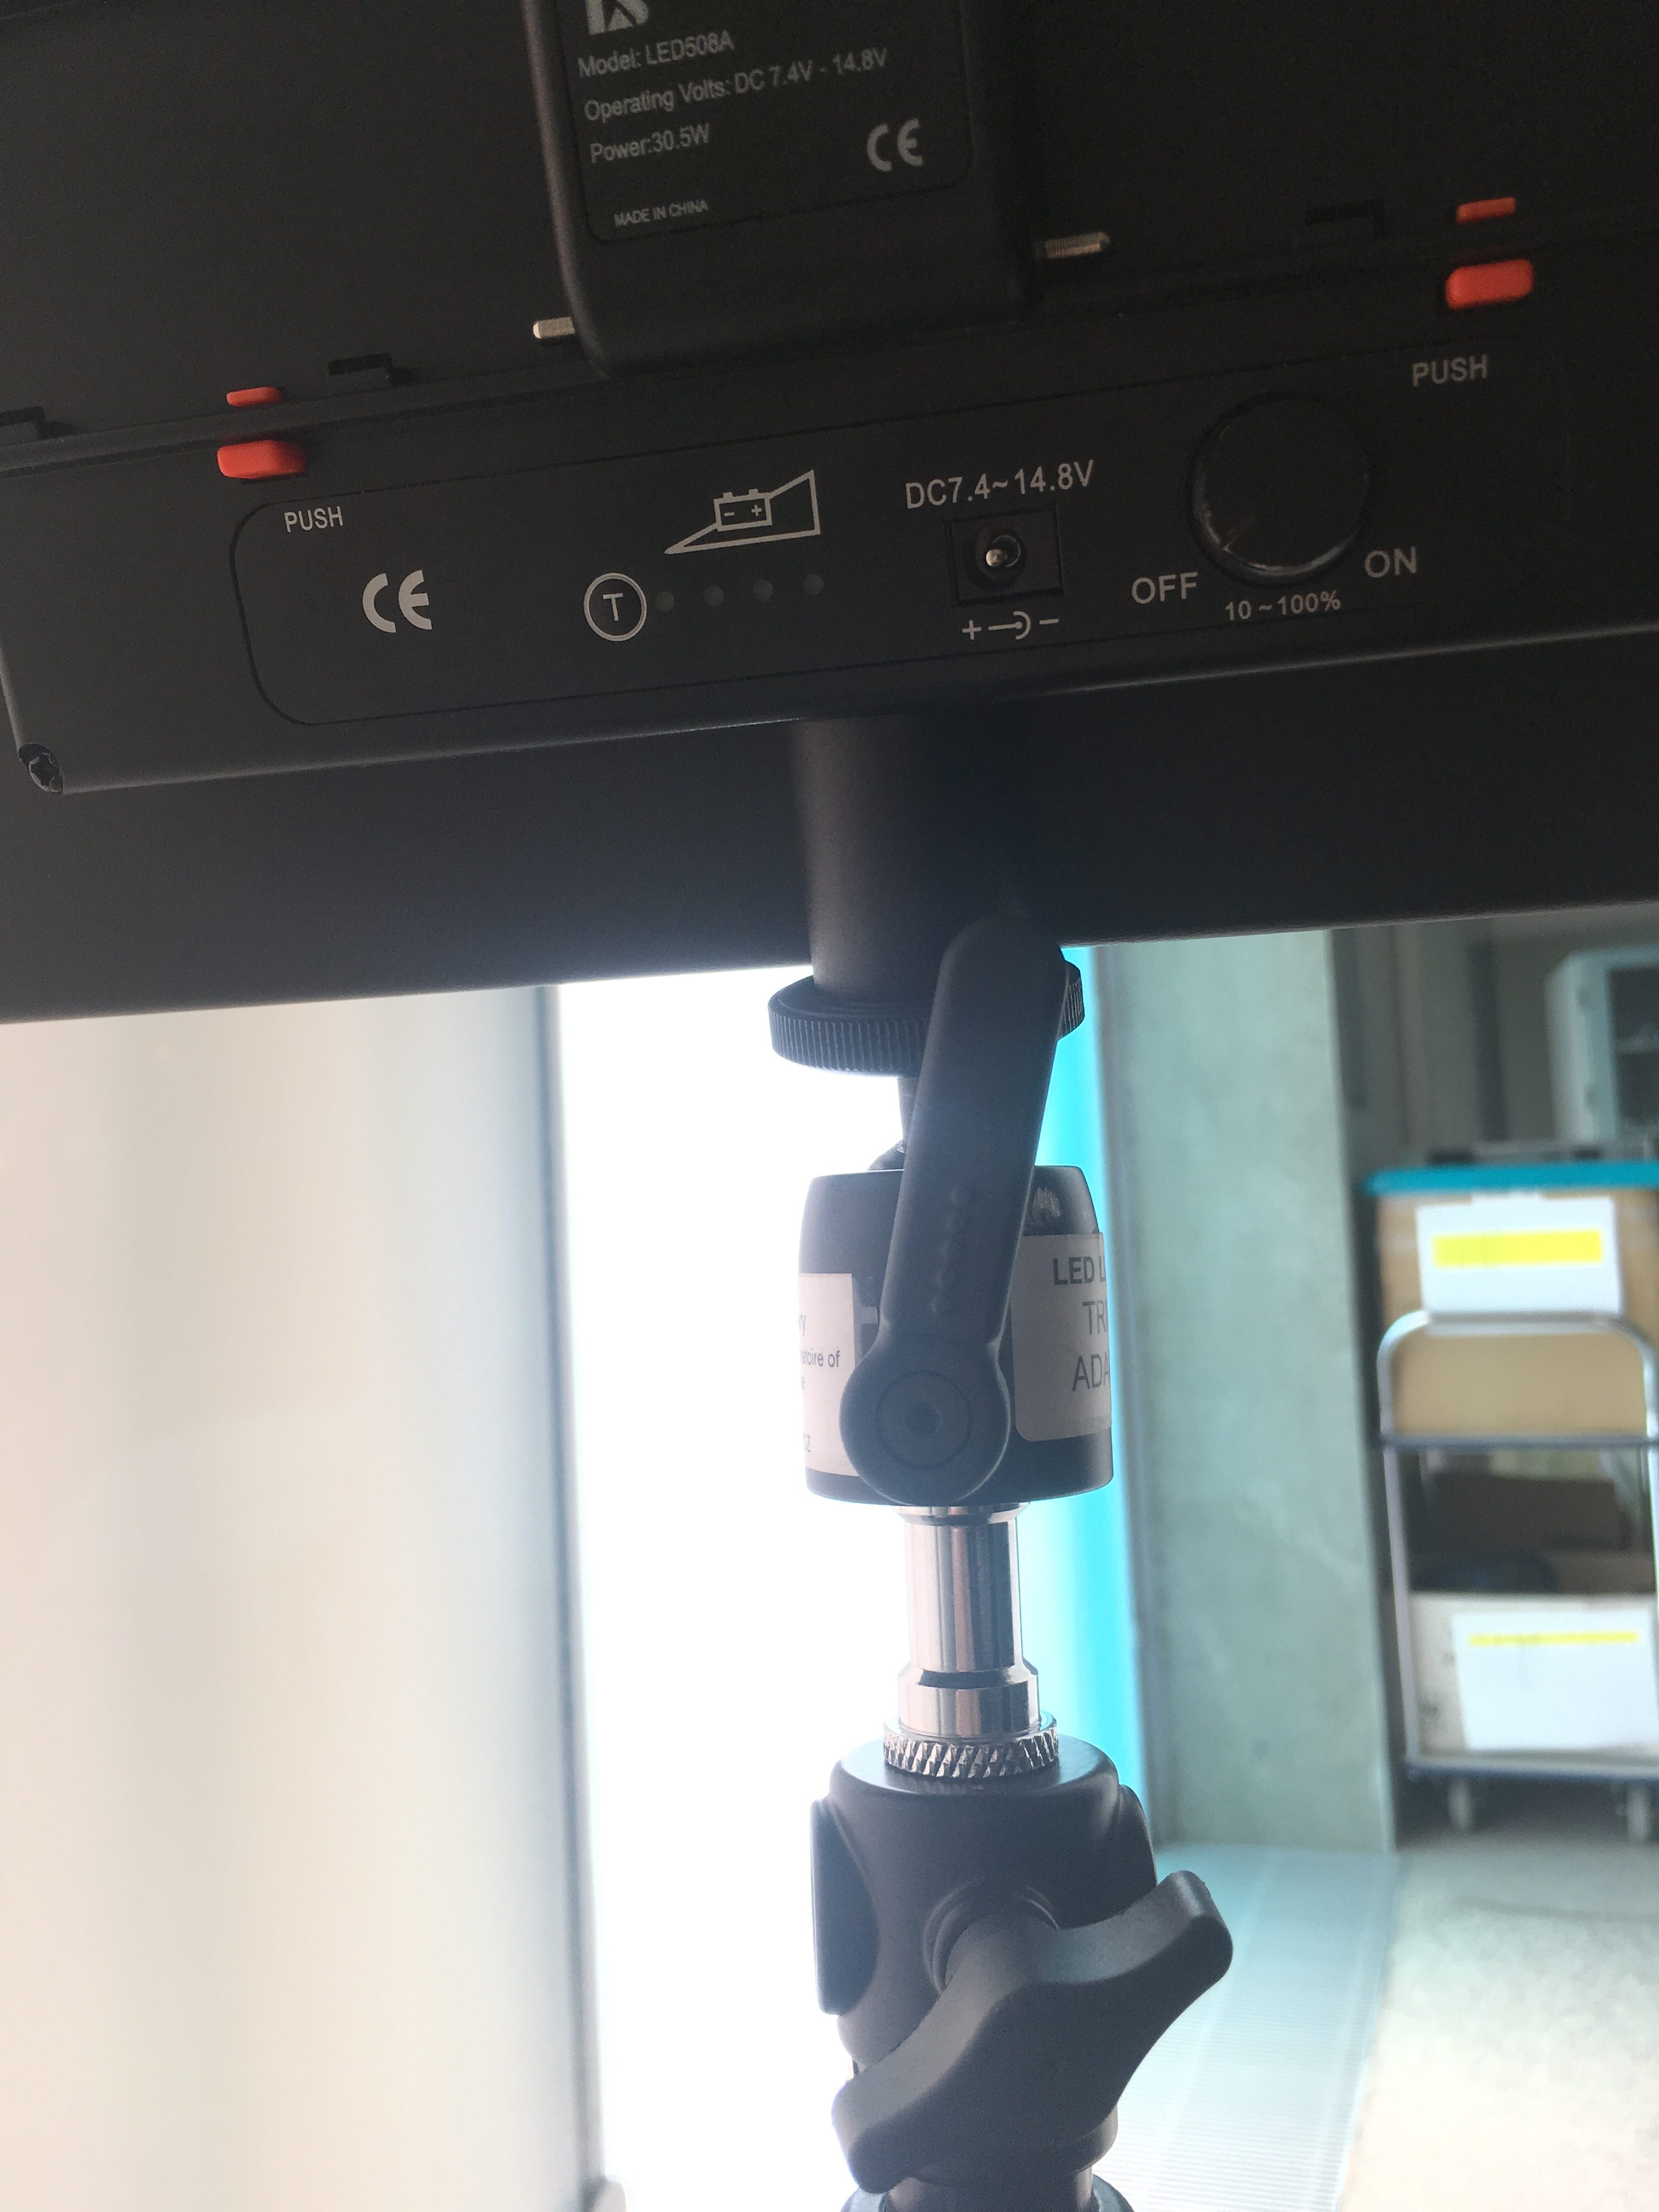
- To attach the LED kit, you’ll need to use the supplied tripod adaptor. Screw the flat, circular end of the tripod adaptor to the bottom of the LED light, ensuring it is screwed in tightly.
- The LED light with the attached adaptor can now be inserted into the tripod stand in two different ways. Upright is the most secure in terms of the distribution of weight. Make sure the topmost screw on the tripod is unlocked and that the handle on the adaptor is secured in an upright, twisting in a clockwise position.
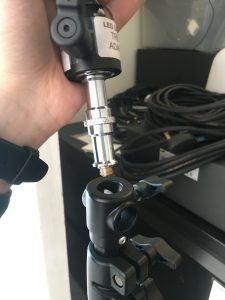
Slot the metal end of the adaptor into the tripod, as far down as it will go. Make sure all locks are secured tightly.
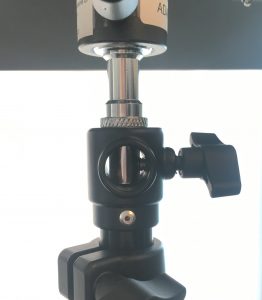
- The tripod adaptor uses a ball head, which allows you to pan and tilt the LED lights position freely. To adjust this, make sure you are holding the LED light whilst you unlock the adaptor handle counter-clockwise, so the light does not come swinging forward causing damage to yourself or the kit. When unlocked you can position your light and then secure the handle by locking it clockwise tightly.
- You can now connect a power source to your LED light, either the rechargeable batteries, or the power supply provided. To turn the light on, turn the dial at the back of the LED light to control the brightness of the light.
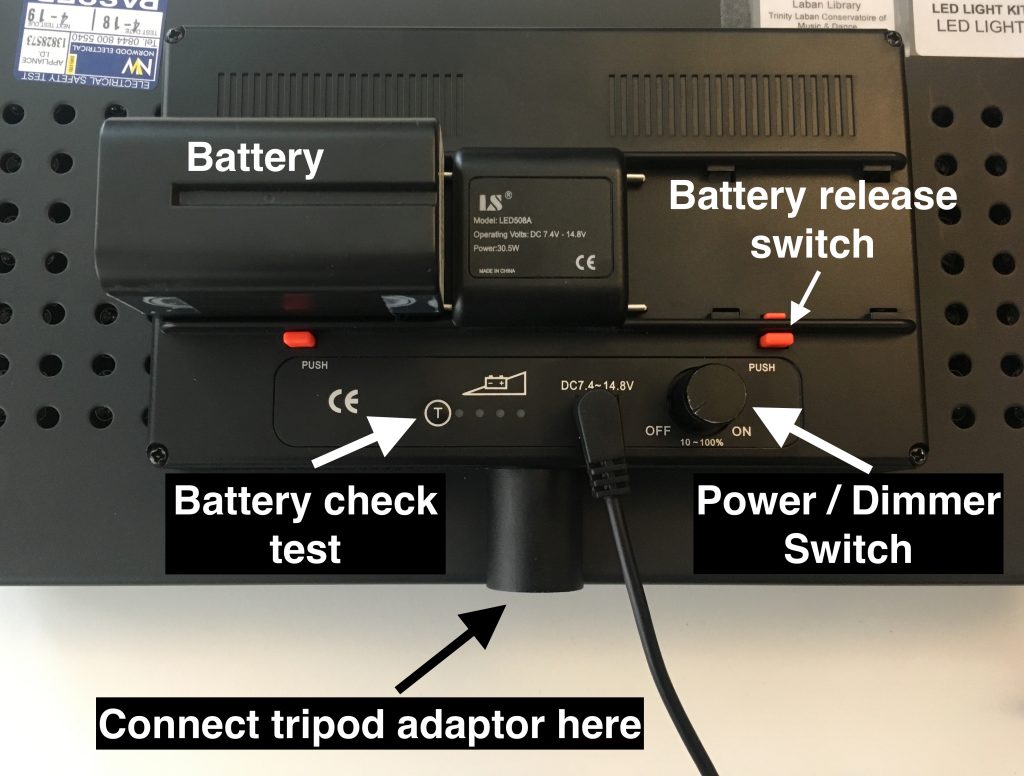
- If using batteries, the T button at the back can be used to check the batteries charge.
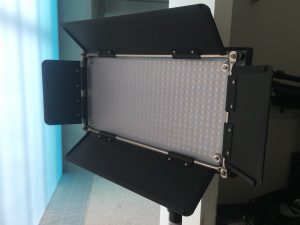
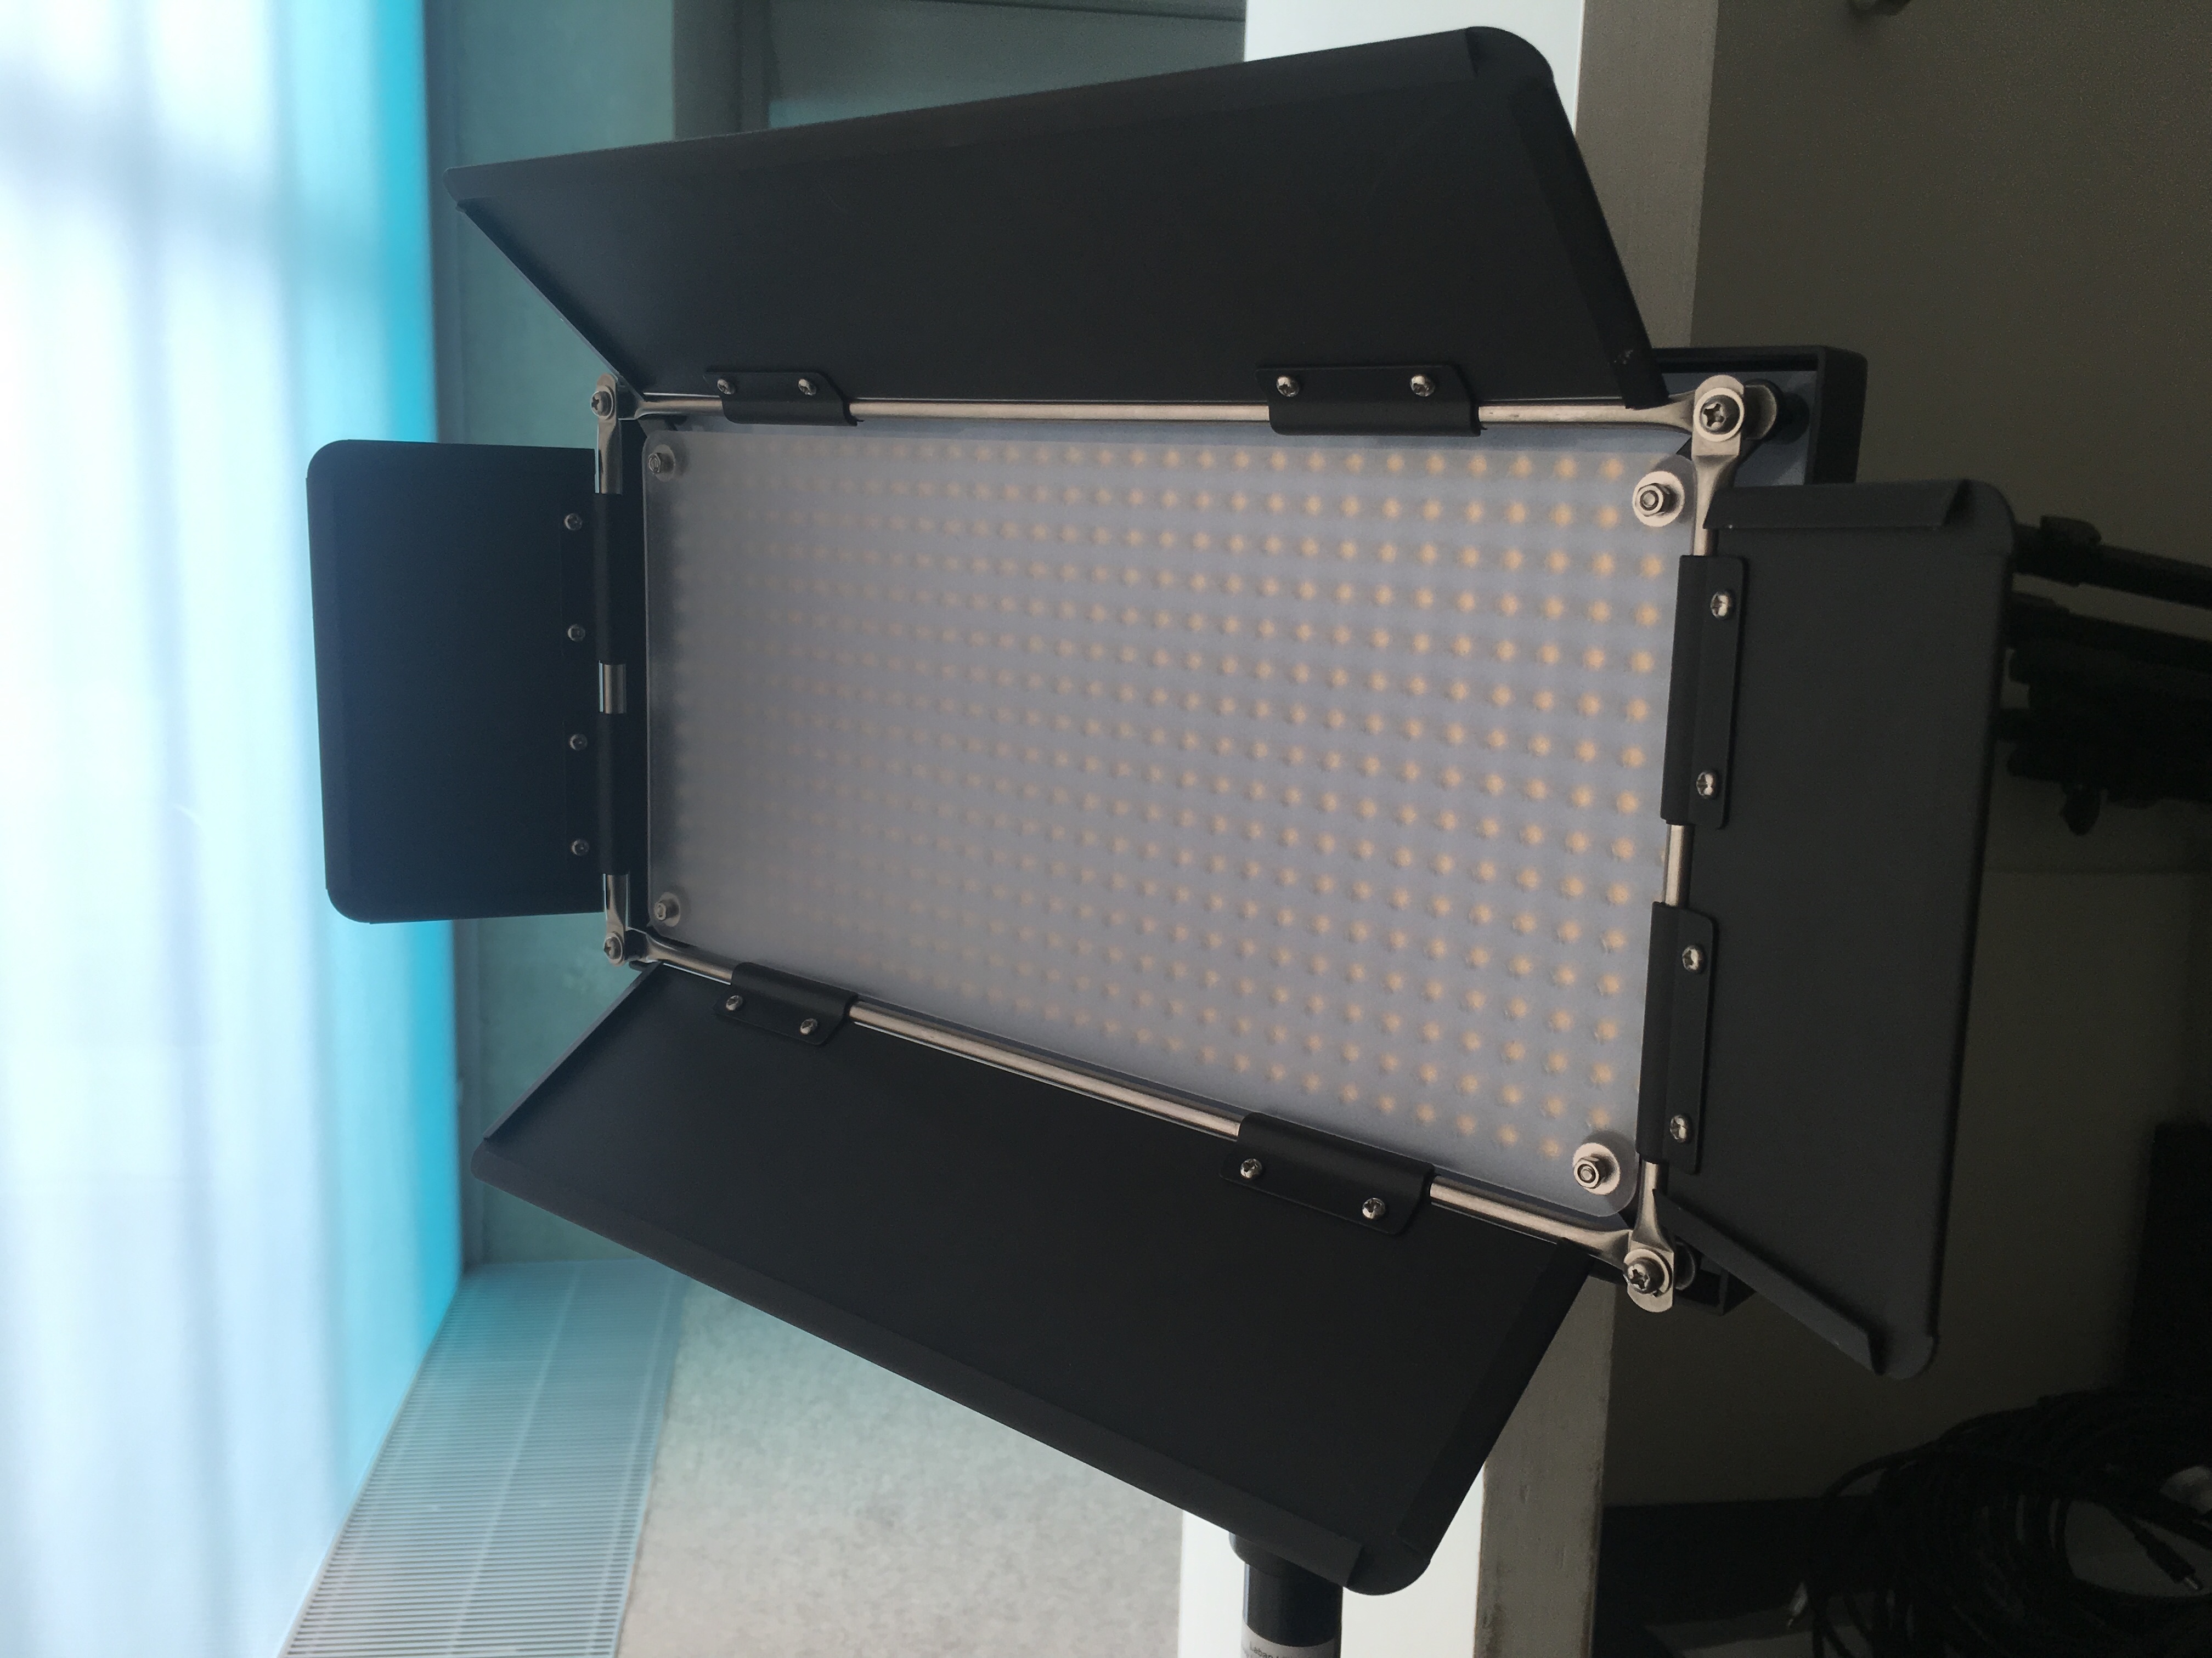
- You can use the flaps on the front of the light to better control the spread and direction of your light.


Lighting Techniques
There is a basic lighting technique for attaining a well lit subject which makes use of 3 lights to control the shadows in your scene. Using all 3 lights will result in a well lit subject, but the positions taught are still very useful when applied using 2 lights or 1.
- Key Light
The key light is your main light, and will be the strongest in your scene, and is placed on the side of your subject to create some shadow on the other side of your subject. - Fill Light
The fill light has the role of ‘filling’ the shadow created by your key light. You should typically use softer lighting for the fill, by placing your light further backwards or dimming the light using it’s controls or a filter. - Back Light
The back light, as the name suggests, is placed behind your subject, and this achieves a sense of depth to your subject. This helps creates better definition in the outline of your subject, and separates it from the background, creating a less flat look to your scene.
Recharging Batteries
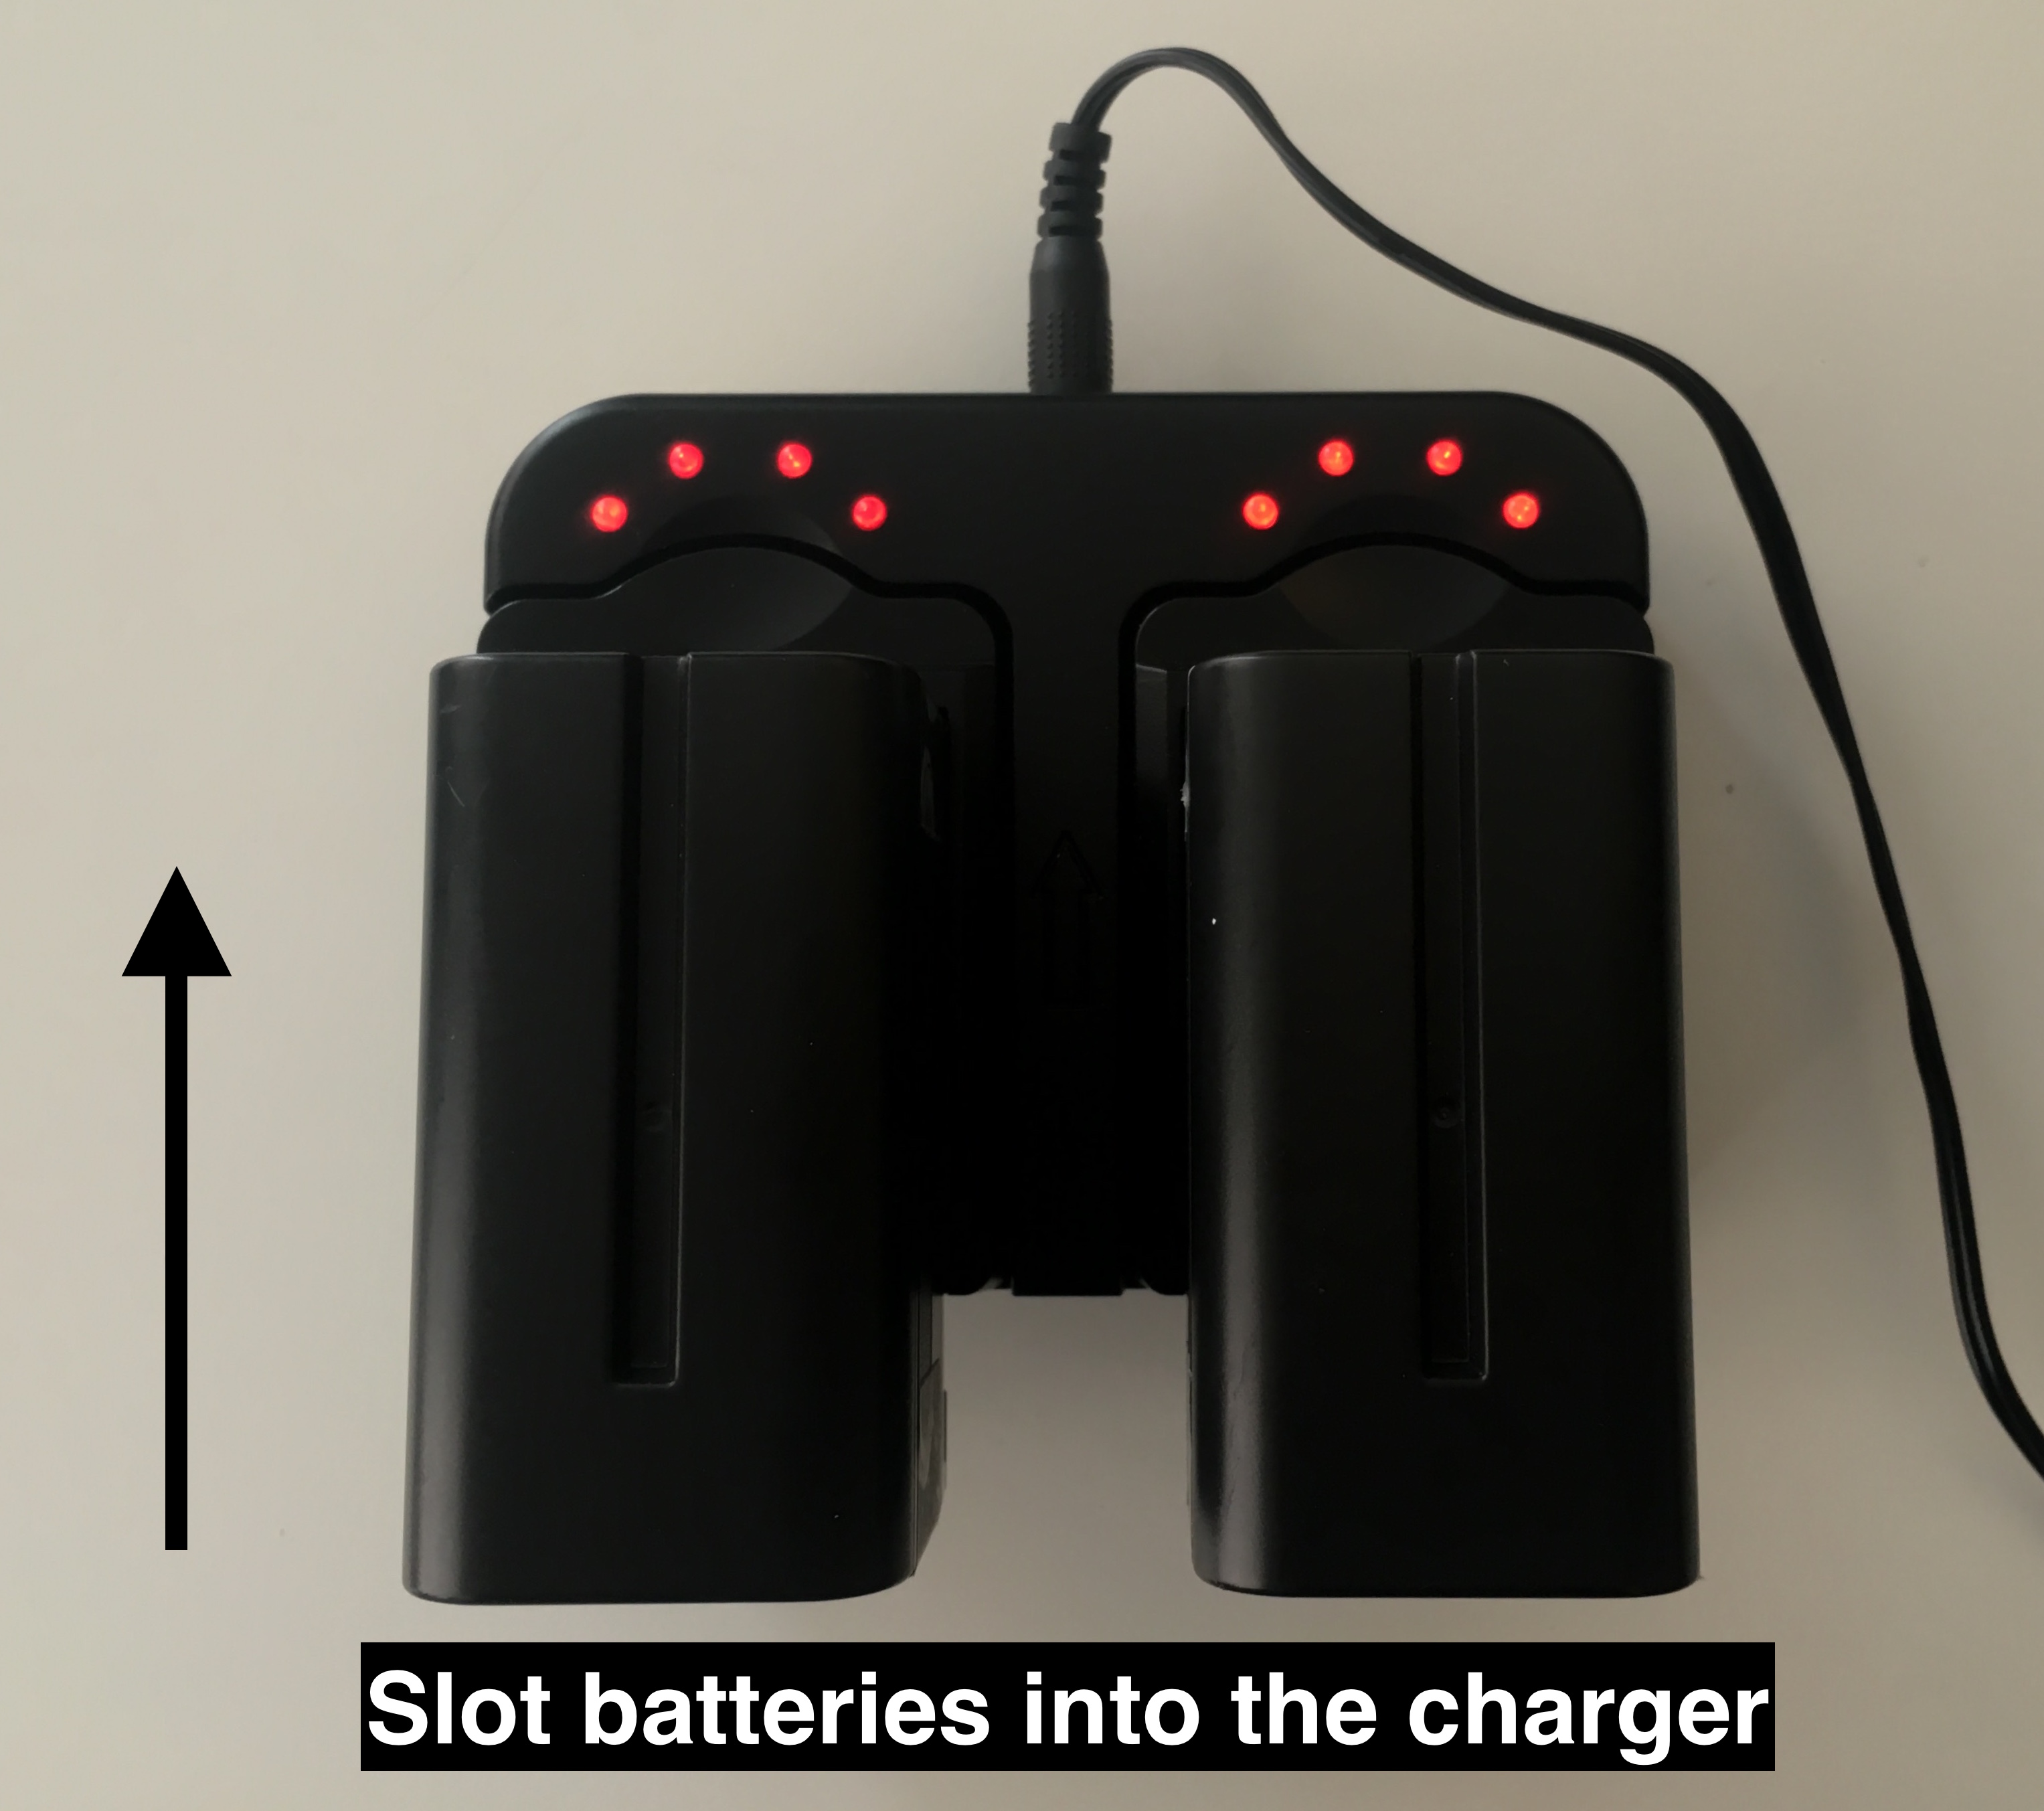
- Connected the battery charger to a power source.
- Slot the batteries into the charger.
- The lights indicate the level of charge, if all lights are on then the batteries are now fully charged.
Further reading for lighting
https://www.mediacollege.com/lighting/