
This article outlines the process to upload content to Trinity Laban’s eStream multimedia platform.
Who can upload content?
Trinity Laban teaching staff and students can upload content to Trinity Laban eStream. Other members of staff may be able to upload content, however, it is advised that they contact avsupport@trinitylaban.ac.uk for further advice.
Considerations before uploading
It is recommended that content be uploaded as h264 mp4 files. To help with this, please see the “Optimising videos for eStream” article.
You can upload multiple files, however, we strongly advise that you merge content which is split over multiple files. For example, a class recording should be uploaded as a whole file, rather than parts or in segments. Solo assessments should be uploaded per student.
Instructions for Teaching Staff
Uploading through the eStream platform
Who can see the content?
This will depend on what options you select when completing the details form during the upload, however, in general, recordings will be automatically filtered into the appropriate class’s category on eStream and be viewable by students UNLESS you select the “Private” option.
Steps to upload content
- Log in to https://estream.trinitylaban.ac.uk with your usual Trinity Laban username and password by clicking on the “Log in with Trinity Laban account”
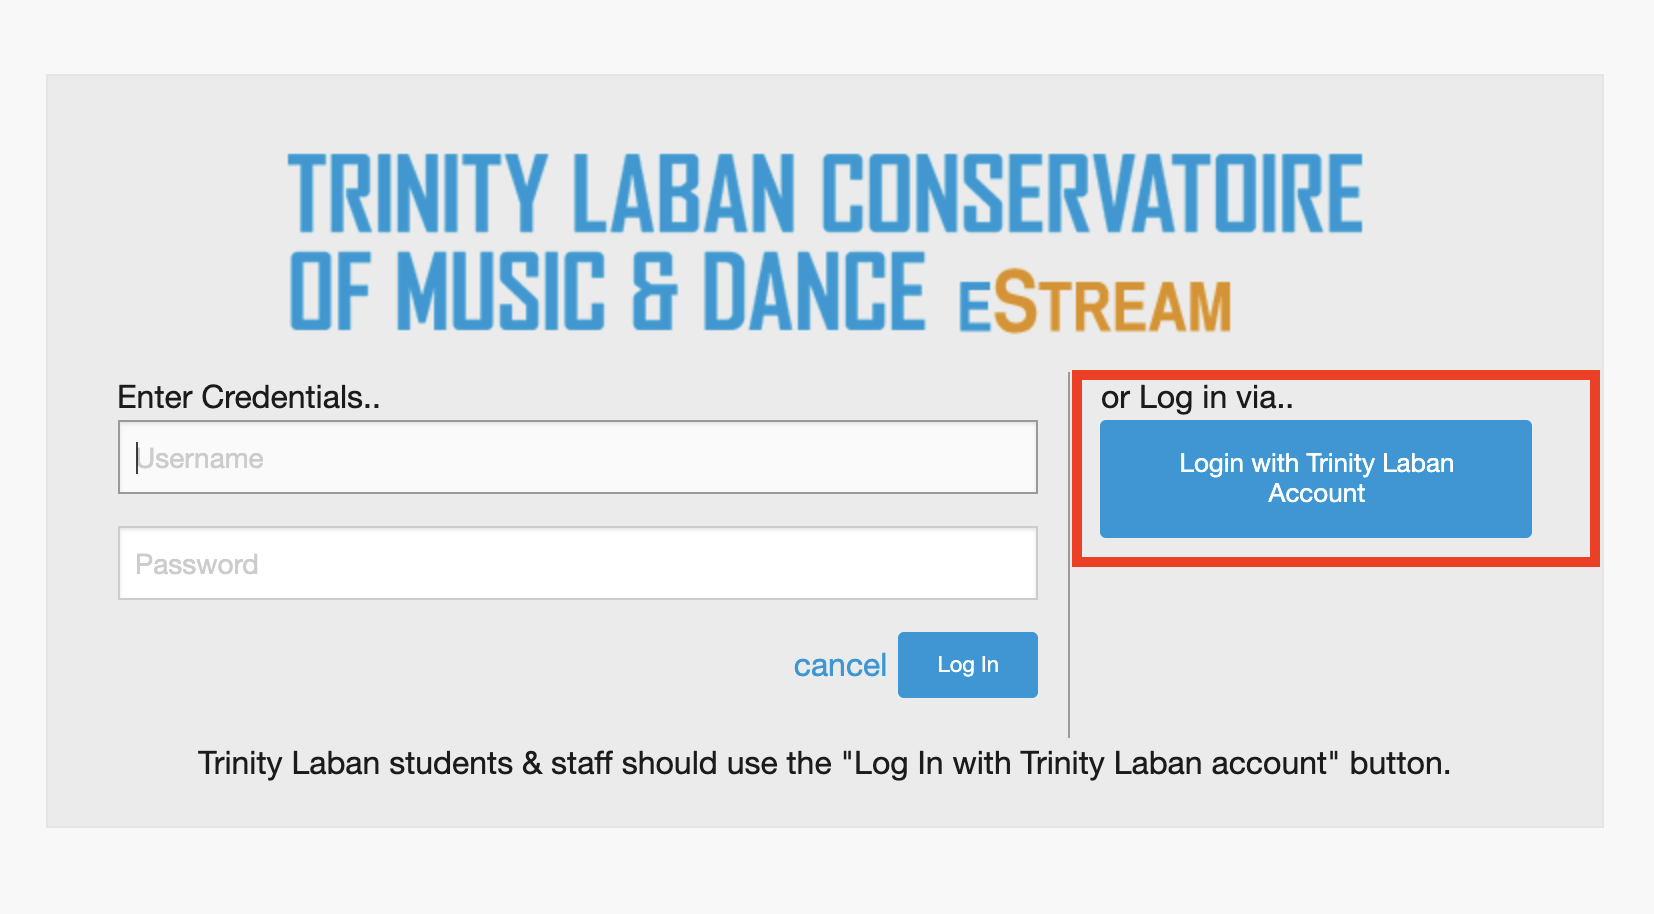
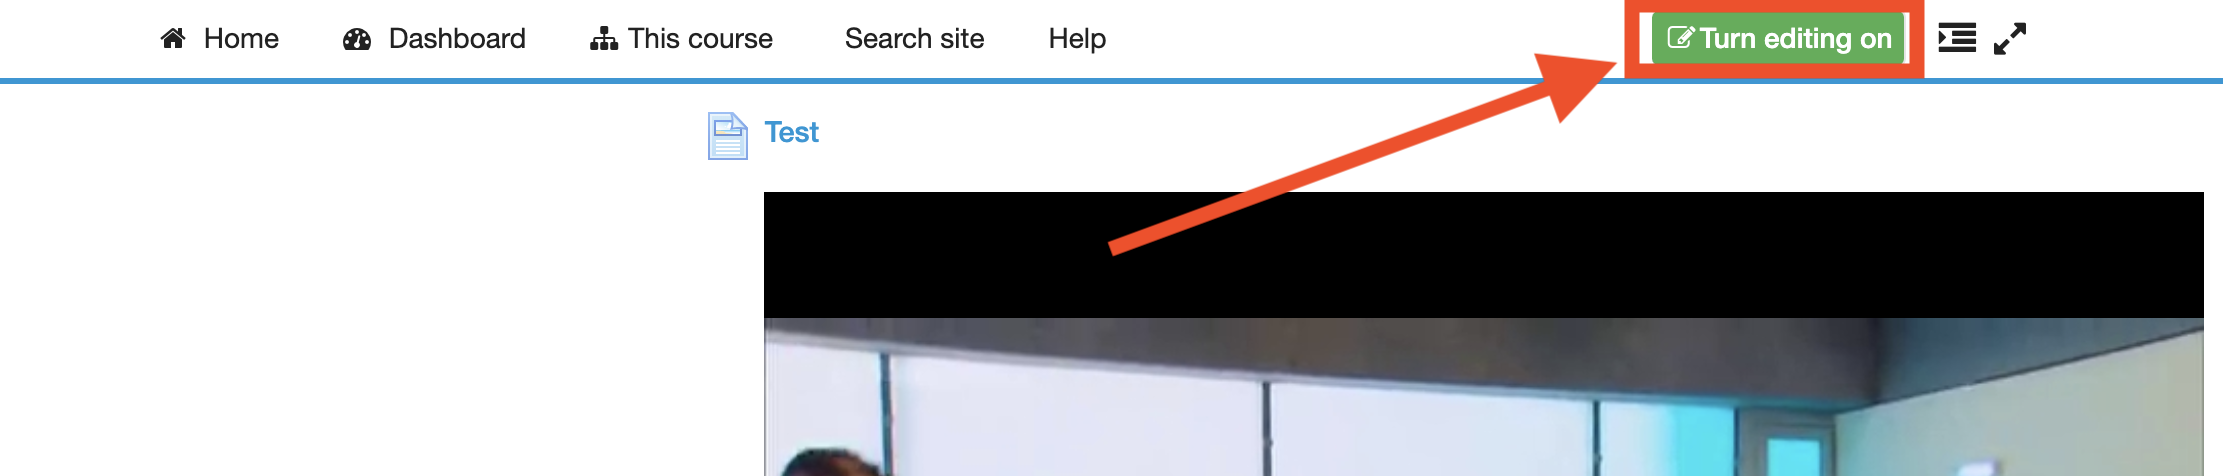
eStream log in page with “Log in with TL account” box highlighted - Once logged in, click the “Create” icon (found on the toolbar at the top of the screen), and then select the “Upload” option.

Where to find the eStream upload icon - Press the “Upload Video/Audio files” button and locate the media file that you want to upload.
- You’ll then need to fill in details about the recording:
- Starting with the left hand column:
- Untick the “Use filename for title” and insert a relevant title into the TITLE field (usually, titles should include the course code, module and date, or if it’s a solo student’s assessment or submission, all of this but with their name too).
- In most cases you can leave the Type box as “Class or Assessment recording“.
- Optionally: enter a short description in the Description field, and a longer one in the Details field.
- If it’s a recording of a tutor led class (or assessment), please enter the tutor(s)’s name(s) in the Tutor field.
- Select one of the options from the dropdown menus or checkboxes to link the recording with the relevant course module.
- Enter the date of recording in the Recording Date field (use DD/MM/YYYY, eg, 28/02/2020).
- The academic year should be selected by default.
- You can likely ignore the “Reference” field, as this is used mainly for library or archive recordings.
- Select “Yes” and/or “For External” in the Assessment area, if the recording is an assessment, and/or you want external (non Trinity Laban) users to be able to access it (please contact avsupport@trinitylaban.ac.uk with details if you do).
- Select a Faculty Limitation (usually, class recordings are restricted to the faculty that they are relating to).
- Move back to the top of the screen and looking at options from the right hand side of the screen:
- Under the “Publishing Policy” section, select:
- “Class Videos” if you want students to be able to see AND download the recording (this can be advantageous for students with slow internet speeds);
- “Class Videos – Non DL” if you want students to be able to see BUT NOT download the recording;
- “Private” if you don’t want anyone to be able to see the recording APART from in places where you embed it. This option can be great for limiting the access to recordings more finely than the wider groups that eStream hold (for example, you can make a video available to a particular group within a module, rather than the whole year group).
- Select an appropriate Category for your recording (please note you may need to expand some of the options to see all the relevant Classes)
- Under the “Publishing Policy” section, select:
- Starting with the left hand column:
Uploading through Moodle
Who can see the content?
If you upload to eStream through Moodle, anyone with access to the section/page that you are uploading to, will be able to access the uploaded recording, even if you select the “Private” publishing policy.
If you would also like the recording to be accessible via the main eStream web portal, please ensure you select one of the “Class recording” policies (further details provided in the steps below).
Steps to upload content
- Log in to Moodle and navigate to the course or page you would like to feature the recording. Press the “Turn Editing on” button at the top of the screen.
- Scroll to the section where you like to include the recording (this could be a weekly section, recordings section, topic, etc – wherever best fits it that makes sense with how you are arranging your course on Moodle).
- Click the topic’s edit link (if you’d like the recording to appear and be playable on the page), or “Add an activity or resource” -> Page (if you’d like to have a sub page where the recording can be played from).
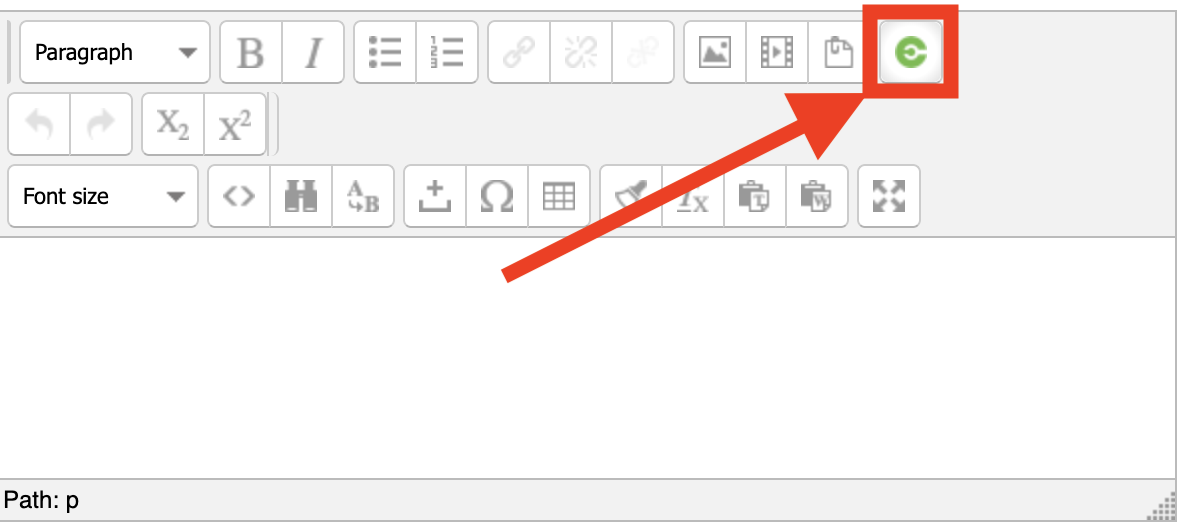
- In the content editor, click the green “Add Planet eStream item” icon.
- To add a new recording, you can select the “Upload” button, or if it is available, you can use the Web Recorder option to create a new recording.
- Fill in the details form as per step 4 of the Uploading to eStream instructions above. When returning to Moodle, you should see a Post button, press this and your video (once it has finished processing) will be embedded in the Moodle page.